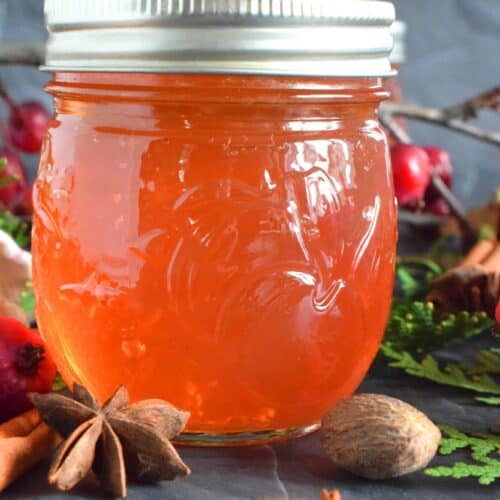
Spiced Crab Apple Jelly
Servings: 80 servings
Calories: 76kcal
Easily transform those overly tart backyard crab apples into the most delicious Spiced Crab Apple Jelly! All you need are crab apples, water, sugar, and a few spices! This jelly is sweet and tart and has a strong crab apple flavour. With the addition of cinnamon, nutmeg, allspice, and ginger, the taste is warming and comforting too. Go ahead, spoon it over everything!
Print Recipe
Equipment
- 10 125 ml mason jars with screw bands and new, unused sealing discs.
- Pressure Canner
- Jar Wrench/Lifter
- Canning Funnel
- Ladle
- Non-metallic Bubble Remover
- Magnetic Lid Lifter
- Candy Thermometer
Ingredients
- 6 pounds crab apples
- 6 cups sugar
- 6 cups water
- 1/2 teaspoon ground cinnamon
- 1/2 teaspoon allspice
- 1/4 teapsoon ground nutmeg
- 1/4 teapoon ground ginger
Instructions
- Wash crab apples well. Remove stems and discard. Trim the blossom end and discard. Cut each crab apple in half across the center.
- Add the prepared crab apples and water to a large pot. Bring to a boil over medium heat. Reduce and simmer for 15 minutes. Turn off the heat and use a potato masher to mash the apples. Don't over-mash, just break the apples up a bit.
- Next, strain the mixture through a double layer of cheesecloth. Don't force the liquid through. Allow it to seep through slowly. Let the mixture strain for 2-3 hours.
- While the jelly is straining, wash the mason jars and screw lids in soapy water and rinse soap off well under running hot water. Place clean jars on a baking sheet and place in oven preheated to 200 degrees. Set screw bands aside. Next, boil a kettle of water and pour into a clean glass bowl. Carefully submerge the sealing discs in the bowl of hot water. Set aside.
- Discard the solids and transfer the juice to a clean pot. Add the sugar and spices and stir well. Bring to a boil over medium-high heat.
- Cook until the jelly reaches a temperature of 220 degrees Fahrenheit. You can use a candy thermometer to test the temperature.
- Using a canning funnel, fill the jars leaving 3/4 inch head space. Wipe down the rim of each jar with a damp paper towel to ensure none of the jelly has come in contact with the rim.
- Carefully remove the sealing discs from the hot water with a magnetic lid lifter. Position the sealing disc directly onto the lid of the jars. Do not touch the underside of the lid.
- Screw on the screw bands until firm - do not apply pressure! Just use your fingertips to tighten the screw bands.
- Next, prepare your pressure canner according to the instructions for your particular brand, make, or model.
- Using the jar lifter, place the jars into the canner and place the lid on securely.
- Process for 20 minutes using a 10 pound (69 kPa) weighted gauge. Be sure to adjust pressure for your altitude if over 1000 feet. Time the processing from the time the canner has reached full pressure. Once done, turn off the heat and allow canner to de-compress naturally.
- Carefully remove each jar from the canner using the jar lifter. Do not tilt the jars or try to wipe them dry. Place jars onto a wire cooling rack that has been covered with a clean kitchen towel.
- Leave the jars to cool for a minimum of 12 hours. Once cooled, wipe the jars of any residue that might have been transferred to the outside of the jar during the boiling process. Label the jars and store in a dark, cool cabinet.
Notes
Recipe makes 10 125 ml jars.
Serving size is equal to 1 tablespoon.
Nutrition
Calories: 76kcal | Carbohydrates: 20g | Protein: 1g | Fat: 1g | Saturated Fat: 1g | Sodium: 1mg | Potassium: 36mg | Fiber: 1g | Sugar: 19g | Vitamin A: 18IU | Vitamin C: 2mg | Calcium: 3mg | Iron: 1mg