
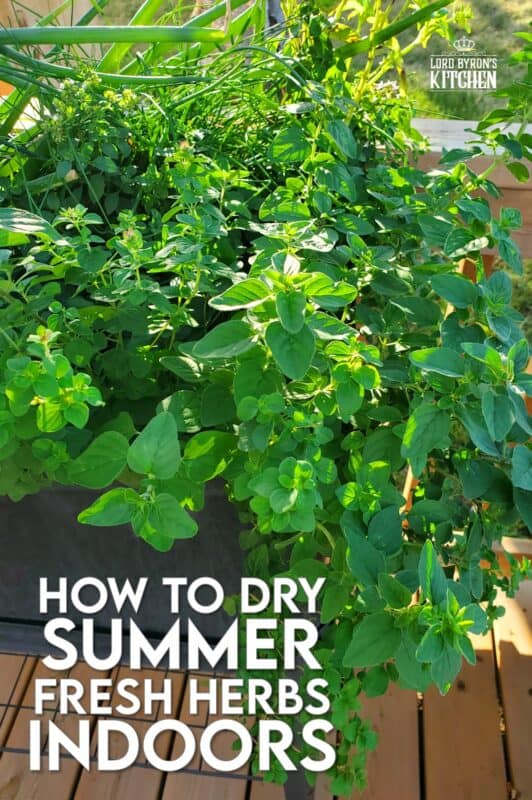
For the past few summers, I have grown a variety of fresh herbs in containers on our back deck. Just before the first frost, they are all harvested and dried indoors for use throughout the winter months. It takes minimal effort, but the reward is huge because the herbs taste better than any store-bought jars you can find!

There are several ways to dry herbs indoors, but this post will focus mostly on the method that works best for me. How to Dry Summer Fresh Herbs Indoors will showcase the easiest and most cost-effective way of drying your homegrown herb harvest – hang drying!
You will need three things to make this recipe a success. First, you will need fresh-cut herbs. Secondly, you will need string, preferably something food safe, like butcher’s twine. And, finally, you will need a dark dry spot in your house to hang the herbs to dry. Sounds simple enough, doesn’t it? No fancy equipment is needed here, folks!
Make your own online recipe box!
Click the in the lower right corner of your screen
& follow the quick and easy instructions!
FIND A DARK AND DRY SPACE
It is vitally important that you choose a dry, dark space to hang your herbs. You will want to ensure that the space has adequate airflow. Do not select a spot in your home that feels humid. For most of us, our basement is not a good place to dry herbs. We live in a very old home with an unfinished stone foundation. The floor is bedrock and is sometimes wet with moisture, especially after a good rainfall. That environment would promote mould growth on the herbs and they would spoil within days.
The best space for me is my pantry. The shelves are all open and the walls are well-insulated. Because the pantry is tall, I can hang the herbs up high to prevent them from being moved around or bumped by anyone who goes to fetch something in the pantry. Also, the doors and hinges on my pantry have a small gap, so air can easily flow in and out.
TEMPERATURE AND NO LIGHT
The general rule of thumb for air-drying herbs is that the temperature of the dark space should be consistent. Aim for a space that maintains a temperature close to 70 degrees Fahrenheit or 21 degrees Celsius. Avoid areas with water like the laundry room, or any areas near a sink or dishwasher. And, never hang them in a window, even though it might look pretty.
Hanging the herbs in a window is often seen in period pieces on television and I’m sure it was a common practice years ago. Even now I’m sure there are some who hang their herbs on the curtain rod above their kitchen window. It won’t harm the herbs, because of the airflow and the temperature, but it will harm the colour. If you want nicely dried and vibrantly green herbs, dry them in a dark place.
HOW TO HARVEST HERBS FOR DRYING
To get the best results as I did in this How to Dry Summer Fresh Herbs Indoors post, you should start the process one day before you intend to harvest and dry the herbs. You will want to give the herbs a good drink of water the day before you harvest. If you are harvesting herbs that grow close to the ground, use a misting spray to get rid of any soil that may have made its way onto the greenery or foliage. Throughout the day, the herbs will drink up the water and plump up nicely.
The next morning, you will want to harvest before it becomes too warm outside. Do not harvest the herbs before the morning dew has evaporated! For me, that means I can cut the herbs somewhere between eight and nine in the morning. Using pruning shears or sharp scissors, cut the stems a few inches from the ground. You will want to harvest by stems and branches rather than by leaves.
Don’t leave harvested stems or branches to sit in the sun. If you cannot process them immediately, you can set them in a jar of water, just like you would a bouquet of flowers. Sit them on your kitchen countertop away from any windows until ready to prepare the herbs for drying.
WASHING AND DRYING FRESH HERBS
This might go without saying, but if you are planning to dry more than one type of herb, you should most certainly work with one type at a time. First, I ensure that my kitchen sink has been cleaned and rinsed well. Next, I fill my sink about half full with cold water. Add the herbs in bunches, but only once you have turned off the water. Herbs can be quite delicate! Use your hand to gently swish the herbs around. This will get rid of any sediment or bugs. Lift branches straight up out of the water and transfer them to a salad spinner.
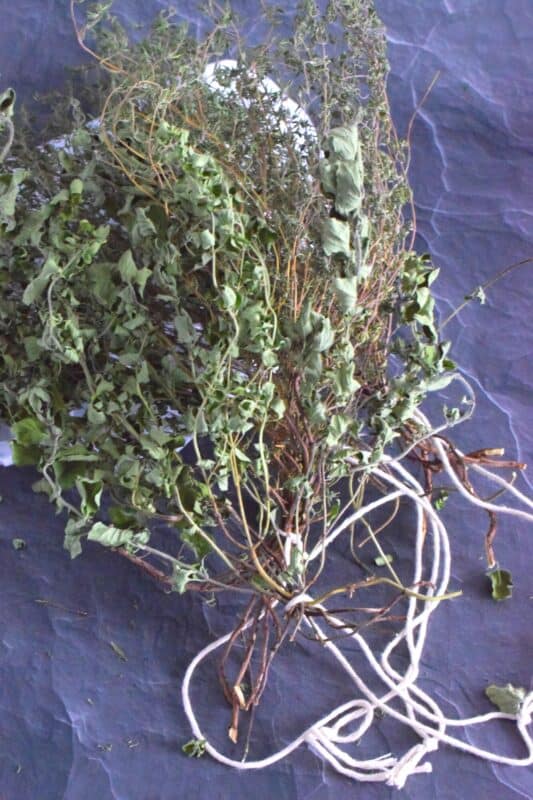
Again, work in batches here. Don’t overcrowd the salad spinner. Spin the herbs to get as much of the water out as possible. Next, gently comb through the herbs and remove any discoloured or damaged leaves or branches. Once all of the herbs have been spun dry, gather the branches together in bunches – about five to six sprigs or branches. Use butcher’s twine to tie a knot around the bottom, leaving enough string to also tie a loop in the end for hanging.
HANG TO DRY
Hang the herbs upside down on hooks, nails, or even a rod in your pantry or another designated dark and dry space. Once that is done, move on to the next type of herb and start the process again. If you’re preparing two or three different herbs, it is not necessary to drain the water from your sink and refill it. But if you’re preparing more than three types, I would certainly do that, because not only will the water become dirty, but some herbs will impart flavour into the water. Remember to check your herbs every three to four days. I like to rotate them if hanging several bunches at a time so that I can ensure even airflow and circulation.
WHEN THE HERBS ARE READY
You will know when your herbs are completely dried by the touch and feel of them. You will want to pay very close attention to this after the one-week mark. Most herbs will dry fully inside your home within seven to ten days. I like to fetch a bunch from my pantry and stand over my kitchen sink. Use your thumb and index finger to gently crush a few of the leaves at the bottom. If the leaves crush, crumble, flake, etc., quite easily, the herbs are completely dried. Now, you’re ready to store them! Learning about How to Dry Summer Fresh Herbs Indoors is fun, isn’t it!?
HOW TO STORE DRIED HERBS
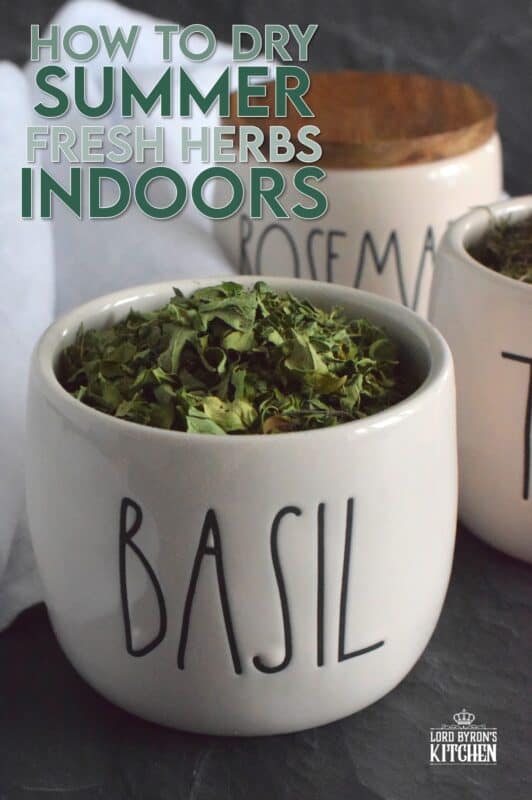
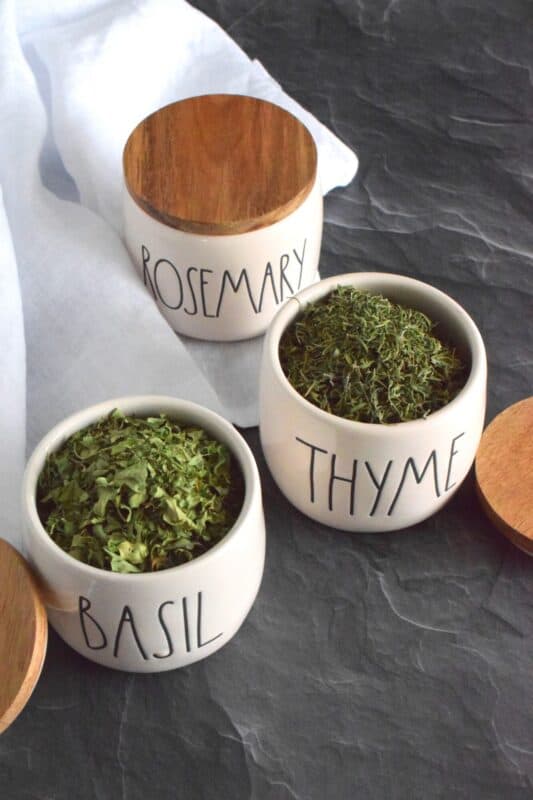
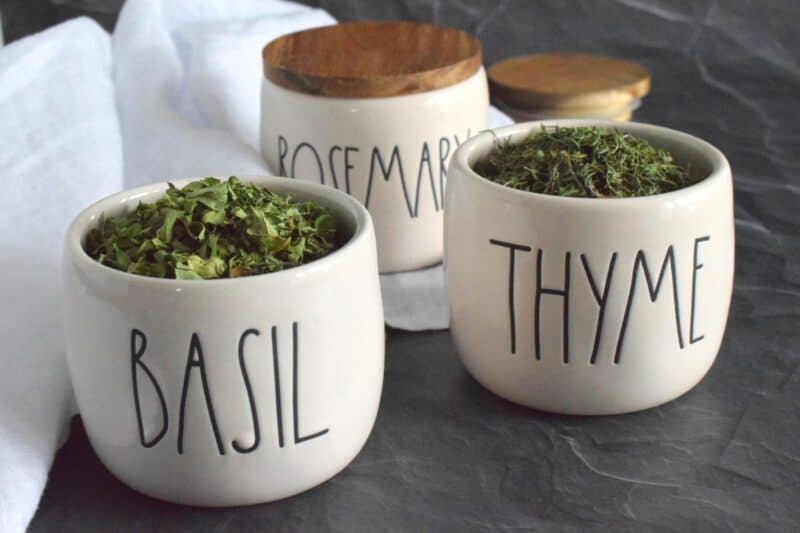
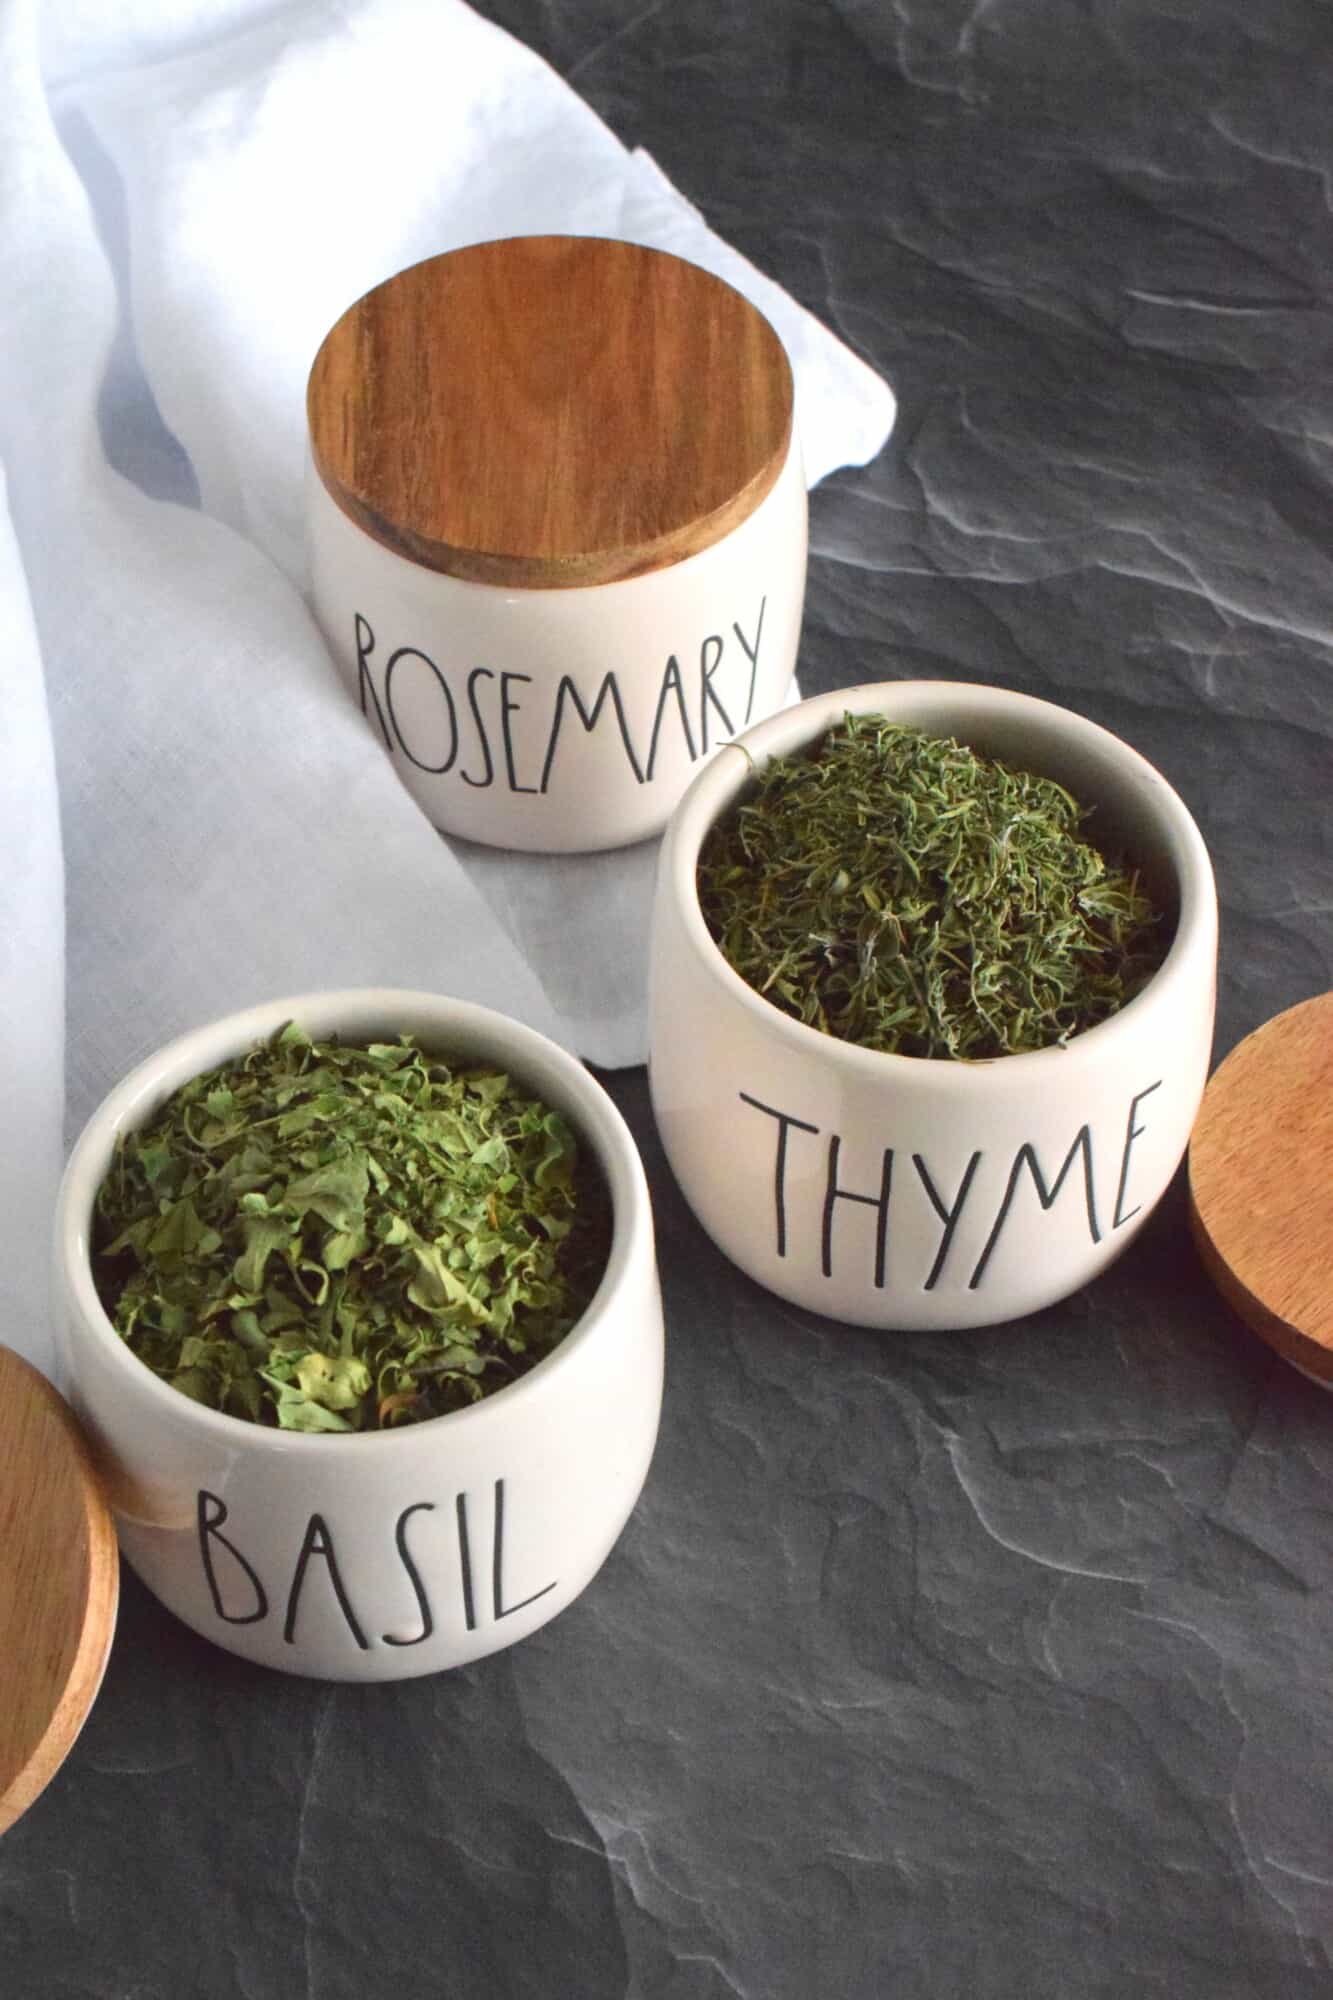
Once your herbs are dried and ready for storage, you have a few options. You may store your dried leaves whole or crumbled. You can use either air-tight storage containers or food-safe Ziploc bags. My favourite way to store dried herbs is in a small, clean mason jar.
Whatever you do, keep them in a cool place out of direct sunlight! This is starting to sound like the Gremlins movie! Also, don’t forget to label your containers or jars with the date and the name of the herb. Once you get to the point where you are drying several types, it becomes easy to mistake one for the other!
Most dried herbs have the freshest flavour if you use them within a year of storing them. In my case, I prefer to use fresh herbs, but I will use my own dried herbs throughout the winter and into early spring. As soon as my herb pots start growing well again in the summer, I usually don’t use much of my dried stash anymore. Once you start the drying cycle again, you can add last year’s dried herbs to your compost pile.
Do You Like This Recipe?
You should consider trying these other delicious recipes too!


How to Dry Summer Fresh Herbs Indoors
Ingredients
- fresh herbs,
- butcher's twine
- water
Instructions
- To get the best results, you should start the process one day before you intend to harvest and dry the herbs. You will want to give the herbs a good drink of water the day before you harvest. If you are harvesting herbs that grow close to the ground, use a misting spray to get rid of any soil that may have made its way onto the greenery or foliage. Throughout the day, the herbs will drink up the water and plump up nicely.
- The next morning, you will want to harvest before it becomes too warm outside. Do not harvest the herbs before the morning dew has evaporated! Using pruning shears or sharp scissors, cut the stems a few inches from the ground. You will want to harvest by stems and branches rather than by leaves.
- Once harvested, fill your sink about half full with cold water. Add the herbs in bunches, but only once you have turned off the water. Herbs can be quite delicate! Use your hand to gently swish the herbs around. This will get rid of any sediment or bugs. Lift branches straight up out of the water and transfer them to a salad spinner.
- Again, work in batches here. Don’t overcrowd the salad spinner. Spin the herbs to get as much of the water out as possible.
- Next, gently comb through the herbs and remove any discoloured or damaged leaves or branches.
- Once all of the herbs have been spun dry, gather the branches together in bunches – about five to six sprigs or branches. Use butcher twine to tie a knot around the bottom, leaving enough string to also tie a loop in the end for hanging.
- Hang the herbs upside down on hooks, nails, or even a rod in your pantry or another designated dark and dry space. Once that is done, move on to the next type of herb and start the process again. If you’re preparing two or three different herbs, it is not necessary to drain the water from your sink and refill it. But if you’re preparing more than three types, I would certainly do that, because the water will become dirty and some herbs will impart flavour. Remember to check your herbs every three to four days. I like to rotate them if hanging several bunches at a time so that I can ensure even airflow and circulation.
- Most herbs will dry fully inside your home within seven to ten days. To test your herbs, use your thumb and index finger to gently crush a few of the leaves at the bottom. If the leaves crush, crumble, flake, etc., quite easily, the herbs are completely dried. Now, you’re ready to store them!
- You may store your dried leaves whole or crumbled. You can use either air-tight storage containers or food-safe Ziploc bags. My favourite way to store dried herbs is in a small, clean mason jar. Keep them in a cool place out of direct sunlight! Also, don’t forget to label your containers or jars with the date and the name of the herb. Dried herbs will last for one year.
Did you make this recipe?
Upload a photo and tag me so that I can see it!


Paula James says
Thank you so much for sharing how to dry herbs. I’ve always wanted to do this and now I know how.