
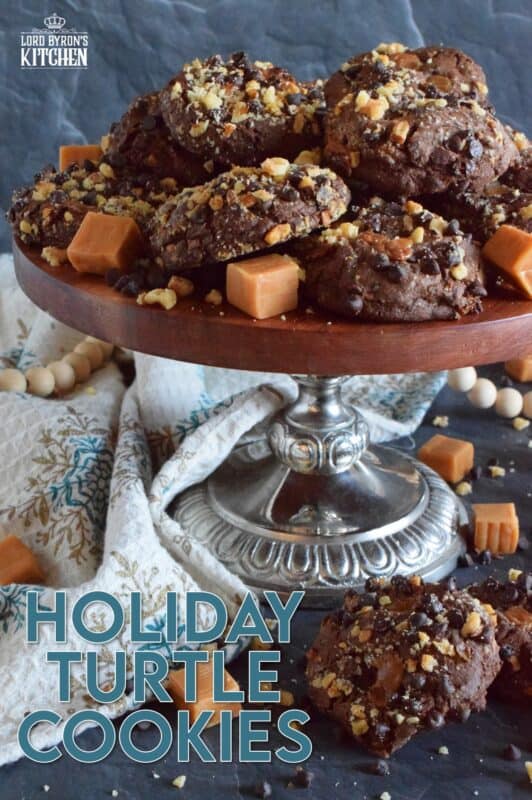
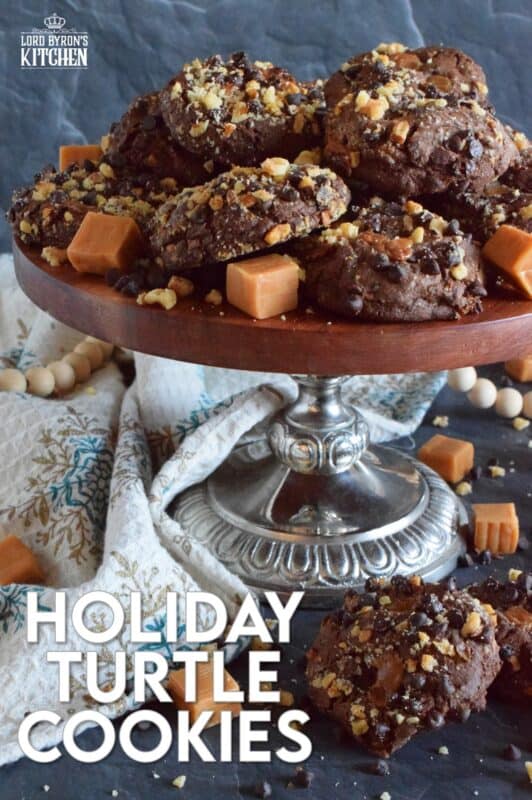
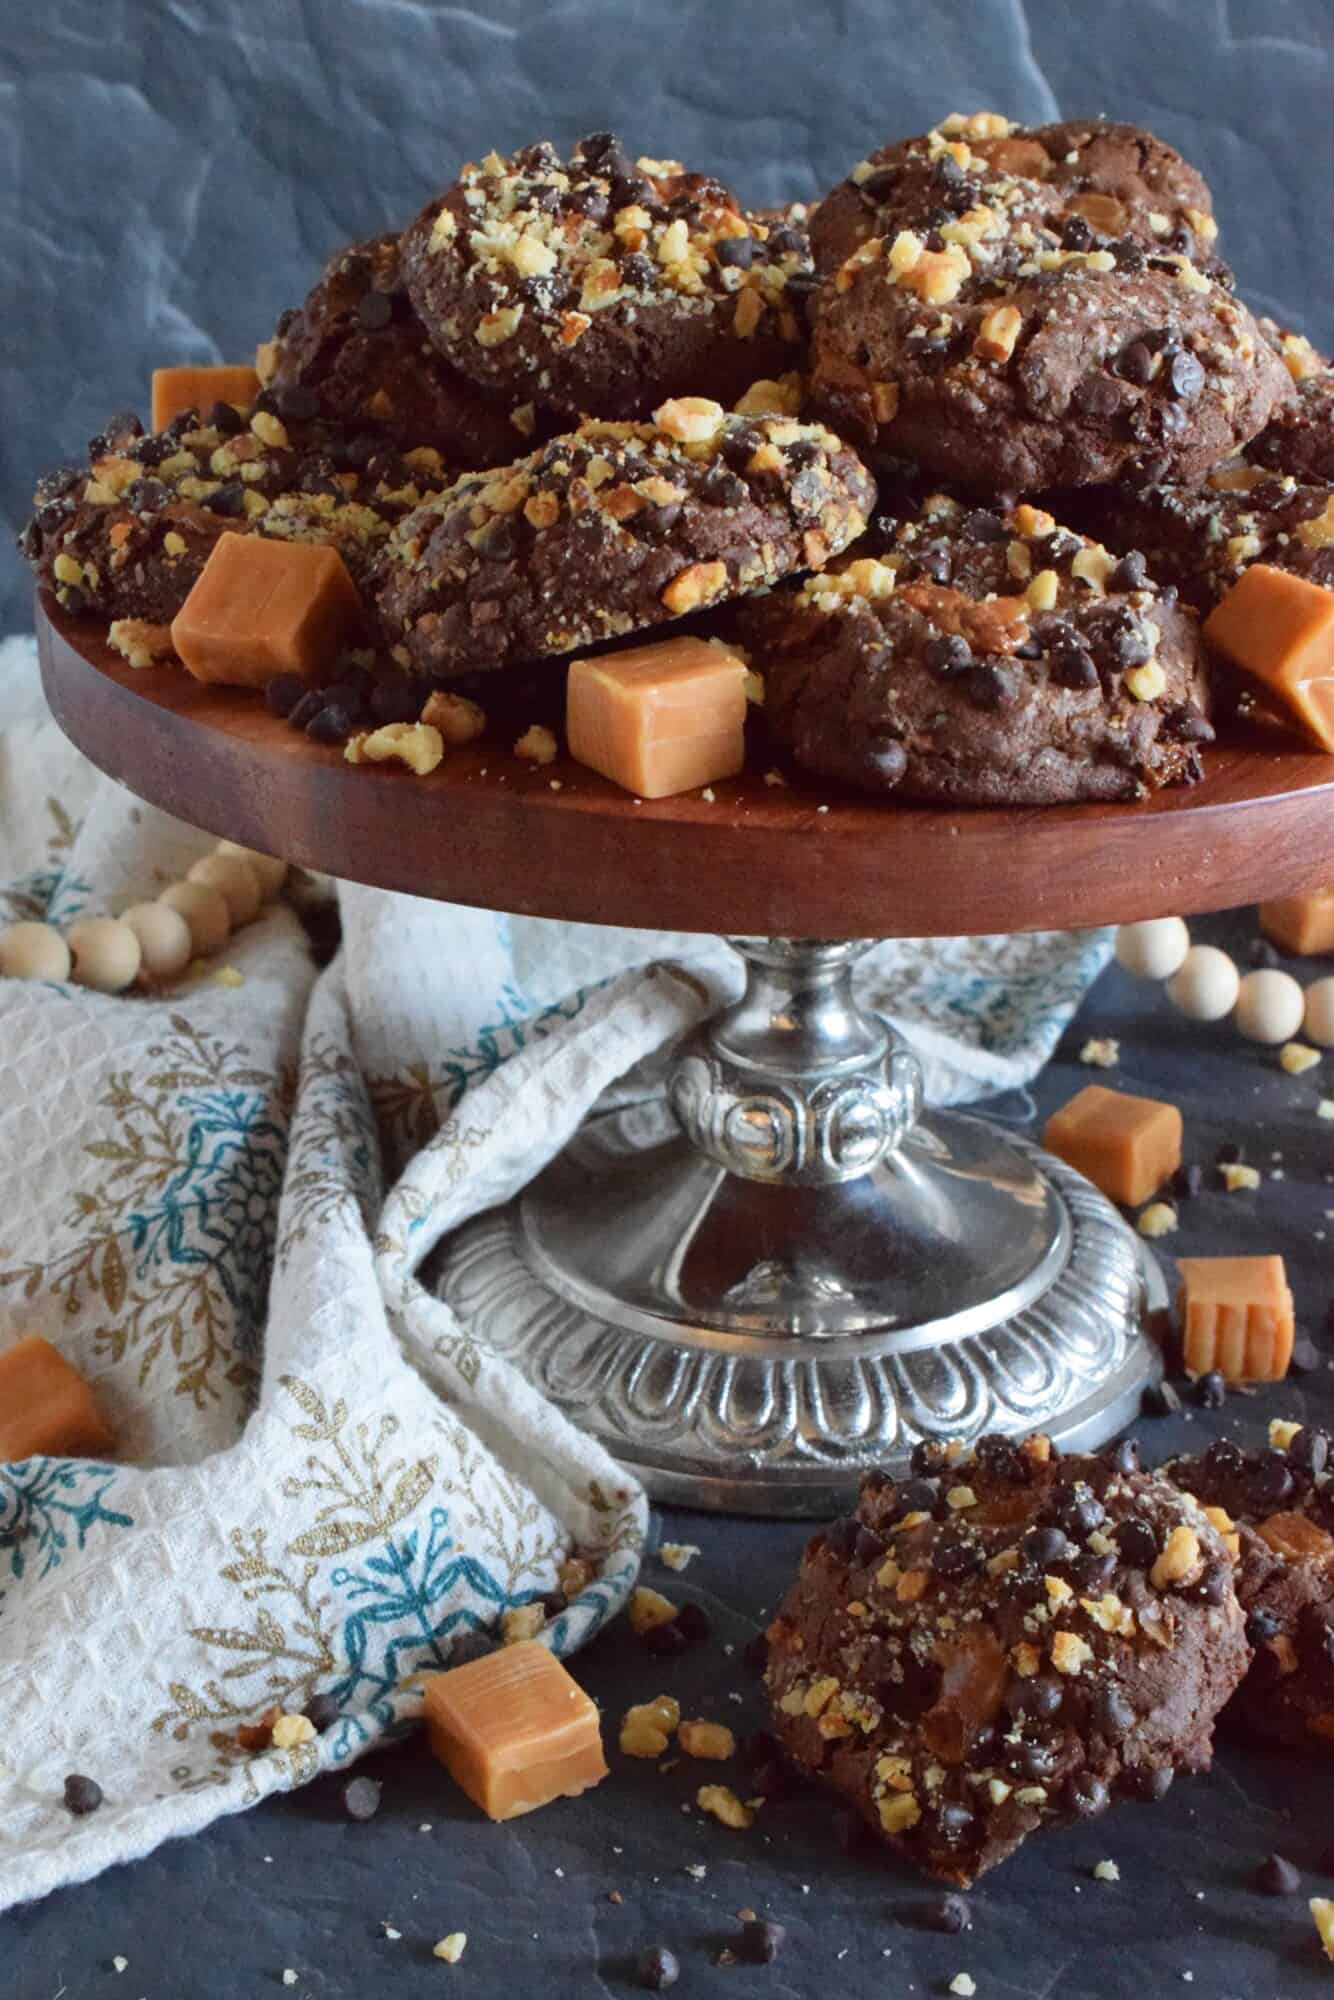
Turtles, turtles, rah, rah, rah! If you remember that jingle and you ate the popular chocolate confection that was popularized by it, then you might enjoy these Holiday Turtle Cookies too! Baked inside and outside of the most delicious chocolate cookie dough are toasted pecans, chocolate chips, and lots of sticky, gooey caramel. You’re going to love this one!
These Holiday Turtle Cookies make me think of the 1980s jingle that everyone saw on television around Christmastime. The jingle went like this: Turtles, turtles, rah, rah, rah! Turtles, turtles, ha, ha, ha! Mmmm, I love turtles! I love pecan, caramel too; I love chocolate, oh, yes I do! That’s why I love turtles! Turtles, turtles, rah, rah, rah! Turtles, turtles, ha, ha, ha! And, the voiceover guy says: Scrumptious pecans smothered in creamy caramel and drenched in deep, delicious chocolate! And then it’s back to the blonde actress surrounded by three dancing turtles. She sings one last Mmmm, I love turtles before the voiceover guys says: Get yours today!
Make your own online recipe box!
Click the in the lower right corner of your screen
& follow the quick and easy instructions!
Does anyone else remember that? I can still sing every word and can’t help but think of those turtles dressed in their tails with their top hats, canes, and monocles. I also remember my mom always buying a box or two at Christmastime. We all liked them, but I have never known anyone to like them as much as my ex-mother-in-law. She simply adored them!
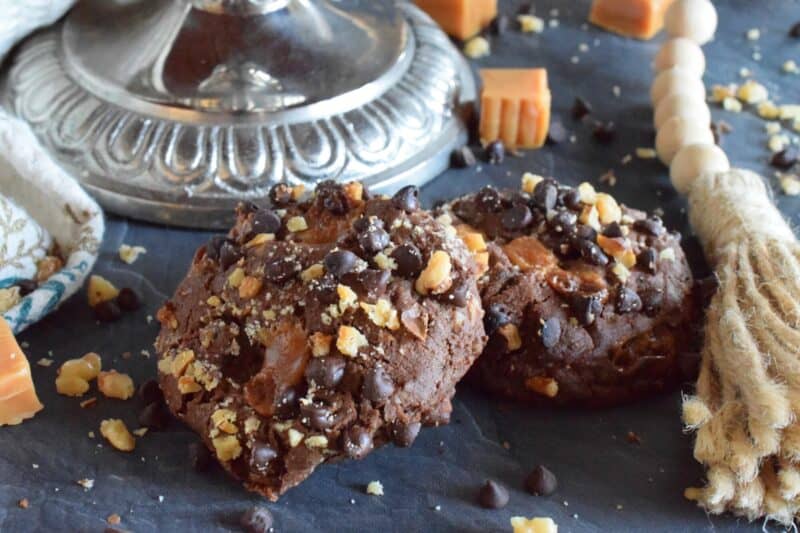
As for these Holiday Turtle Cookies, they have the same flavour profile as the store-bought confection. First of all, the cookie base is chocolate and is made with both cocoa and chocolate chips to make sure the chocolate level is up there. The dough is also packed with toasted, chopped pecans and lots of chopped caramels.
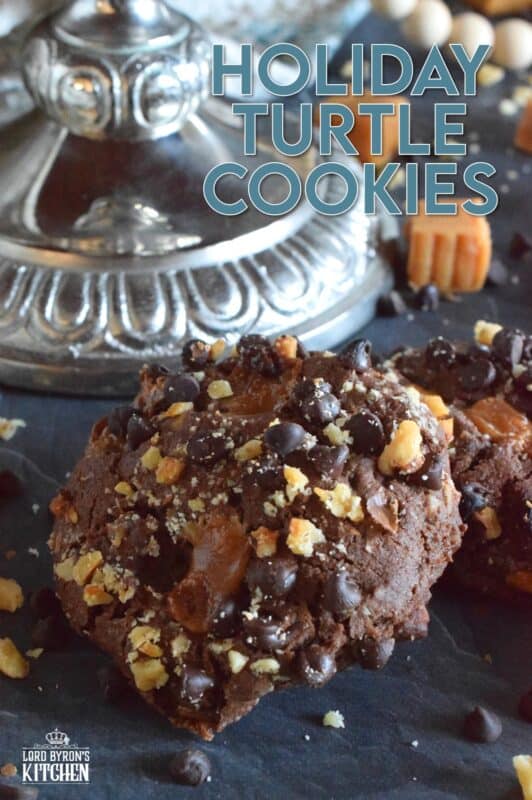
If that wasn’t enough, before the cookie is baked, the outside of the cookie is rolled in a mixture of chocolate chips, chopped caramels, and toasted, chopped pecans too. I’m telling you, Dear Reader, this cookie might just be better than the real thing. And, they’re really big too, so there’s that!
LORD BYRON’S 24 COOKIES OF CHRISTMAS – VOLUME 5
I’m so excited about this year’s cookie countdown! This is the fifth consecutive year; can you believe that? Each of the previous years has included 24 cookies and this year will not be any different. I’ll share a new Christmas cookie recipe each and every single day for the next 24 days – even on Saturday and Sunday!
You might be asking yourself, how many Christmas cookie recipes could one possibly have or need? Well, I say you can never have too much of a good thing. And, I love having lots of choices. Who wants to bake the same holiday cookies year after year?
So, welcome, Dear Reader, to Volume 5 of Lord Byron’s 24 Cookies of Christmas! Fresh off of my 12 Edible Wreaths of Christmas and my 12 Bars and Squares of Christmas series, I’m ready to plow through the next 24 days with you!
You really don’t want to miss one of these recipes, so if you have not yet subscribed to Lord Byron’s Kitchen, I encourage you to do so. That way, a new recipe will be emailed to you every day. You won’t have to bother to come looking for it! Like in previous holiday baking countdowns, I like to mix up the recipes in the series so that there is something for everyone. Are you ready!!??
Looking For More Christmas Confections?
Lord Byron’s Kitchen has more than enough to satisfy your sweet tooth! Click on the links below to see a countdown series of holiday recipes from that category!
INGREDIENTS NEEDED TO PREPARE THIS RECIPE
The following is a list of the ingredients needed to prepare this recipe. For exact amounts and measurements, refer to the printable recipe card located near the bottom of this post.
- Butter – Make sure your butter is at room temperature! To be perfectly honest, I have made these with both salted and unsalted butter and there’s no difference in taste or appearance once all is said and done. Use what you have on hand.
- Sugar – Sugar will caramelize when baked, which will help to brown cookies and cakes. In cookies, the sugar will help the dough to spread and will create a crispness to the bottom of the cookie.
- Brown Sugar – First of all, it has way more flavour than regular white sugar! And, in this recipe, brown sugar helps to keep the cookie moist and soft.
- Eggs – Whenever you set out to bake, make sure your eggs are at room temperature too – just like your butter!
- Vanilla Extract – Probably the most common extract and the most common flavouring used in cakes and cookies.
- Flour – No need for anything special. Just use regular all-purpose flour. I have not tried this recipe with any other type of flour.
- Cocoa Powder – Cocoa powder is an unsweetened chocolate product which adds deep chocolate flavour to desserts and beverages. Use a good quality cocoa powder, not the kind we used to stir into milk as kids!
- Baking Soda – Commonly known as sodium bicarbonate, or just bicarb, it is a baking ingredient that’s activated by a liquid and an acid to help with leavening or rising.
- Salt – Do not add the extra salt if you used salted butter!
- Mini Semi-Sweet Chocolate Chips
- Pecans
- Kraft Caramels – about 10-12 should do it!
KRAFT CARAMELS
I mentioned in the ingredient list above that you will need about 10-12 individual Kraft caramels to make this recipe. Most commonly, unless you are shopping at a baking supply or bulk store, Kraft caramels are sold in bags. To take out the guesswork for you, 10-12 individual caramels translates to about half a bag. In my neck of the woods, caramels are usually found in packs weighing 246 grams, so I one bag was plenty for this recipe.
I’m including this tidbit of information because you might not have access to Kraft caramels. Even if you do, you have the option of using other brands. I used Kraft because it’s a brand I trust when baking. You can use Mackintosh’s caramels, which I think is a Scottish-made candy. You can also use Werther’s. Just make sure they are the originals. Brach’s is also a great brand.
In the United States, you can find Kraft Caramel Bits. I love those things! A few years ago, I used them on a chocolate bark recipe and they were amazing! I cannot wait to get to the US to do some shopping again! This time, I’m going to stock my pantry really well!
TOASTING PECANS
The first thing you should do it to toast your nuts. How do you do that? It’s very simple! To be perfectly honest, this applies to any nuts or seeds, not just the nuts in this recipe. If you are not familiar with toasted nuts, then please try it just once. You will probably never revert to using nuts in your cooking or baking again without toasting them first!
I have tried using non-stick frying pans for toasting, but nothing works as well as a stainless steel pan. You could use a cast iron pan, but since they get very hot and retain heat so well, it’s easier to burn the nuts. See the frying pan in this picture? That’s the exact one that I use all the time. I’m not suggesting you run out and buy this same cookware set, but I want you to see the pan – remember, do not use non-stick if possible. You’ll get better results will plain stainless steel.
Do you have a question or comment?
Would you like to leave a review?
Scroll down to the comment section and write me a message.
I will personally respond as soon as possible!
So, unlike most cooking where you’re required to preheat first, you don’t want to apply that same rule to toasting nuts. Add the nuts to a cold pan. Place the pan on the burner and turn the heat on – no higher than medium and probably even less if using a gas burner.
Keep the nuts moving about. I use a rubber spatula. Once you start to smell that warm and toasty aromatic smell, pay close attention. The nuts will take on a darker colour. Don’t let them get too dark. Once you’re satisfied, immediately remove them from the hot pan and transfer them to a dinner plate where they can be spread out to cool.
SPEAKING OF COCOA POWDER
Cocoa powder is an unsweetened chocolate product which adds deep chocolate flavour to desserts and beverages. Use a good quality cocoa powder, not the kind we used to stir into milk as kids! I have two types of cocoa that I use when baking. In cookies like these Holiday Turtle Chunk Cookies, just a regular, inexpensive cocoa powder will do just fine. Even though I don’t care for Hershey’s chocolate, I do like to use Hershey’s cocoa powder for cookies.
If, however, I’m making a cake or a cookie recipe with very few ingredients, I want to use better-quality cocoa powder. For me, Fry’s Premium Quality Cocoa has all that I’m looking for. It has a stronger chocolatey scent than other cocoa powders. When it comes to flavour, Fry’s wins out again. The only thing that Fry’s doesn’t offer is a deeper, chocolatey colour like you see in the photos. I find that Hershey’s does a better job in terms of colour.
HOW TO MAKE HOLIDAY TURTLE COOKIES
Start by cutting the caramels into smaller pieces. If using square caramels, cut them into 8 pieces; if using caramel balls, cut those into quarters. Once the caramels are chopped, combine them with the chocolate chips and the toasted, chopped pecans. Toss to mix and set aside.
Next, preheat your oven to 350 degrees F and line a baking sheet with parchment paper. Set that aside.
In a mixing bowl, beat the butter, brown sugar and sugar together until light and fluffy. Add the egg and vanilla extract. Beat to combine. Measure in the flour, cocoa powder, salt, and baking soda. Beat on low speed for 30-45 seconds, just to get the dry ingredients started into the wet mixture.
Set aside ½ cup of the chocolate, caramel, and pecan mixture. Add the rest to the bowl of cookie dough. Continue to beat on low speed until the flour is all incorporated. Portion the cookie dough into 2 tablespoon-sized amounts. Roll the portions into balls and roll the balls into the chocolate, caramel, and pecan mixture you had previously set aside.
Place the balls onto the prepared baking sheet, leaving 3 inches of space between each ball. Bake for 10-12 minutes. Remove from the oven and allow the cookies to cool for 10 minutes before moving them to a cooling rack to finish cooling.
Lord Byron’s Annual Christmas Cookie Series
Did you know that Lord Byron’s Kitchen has been sharing a 24 Cookies of Christmas Series for the past several years? Click on the links below to see all of the recipes from each series on one page!
STORING, PACKAGING, & FREEZING
When it comes to most cookies, they taste best at room temperature, but they don’t hold up well to being left out on your countertop for long periods of time. Cookies will stay fresh in a cookie jar or food-safe container with a lid for 3-5 days if left to sit on your kitchen countertop. You can store them in a food-safe container in your fridge. When you want one, two, or half a dozen, take them out of the container and place them in a single layer on a plate. Let them sit at room temperature for 5 minutes and they’re ready!
If you plan to freeze your Holiday Turtle Cookies, you certainly can! Pile them into a clean, food-safe container. The container must be freezer friendly! You’ll want to ensure a very tight-fitting lid too. I use these quite often when freezing baked goods. I like to place a sheet of plastic wrap over the top of the container before pushing the lid on. This helps to create a better seal. The goal is to keep all of that freshness locked in!
You can freeze these cookies for up to three months. If you plan to give previously frozen cookies as a gift, I would lay them out on a wire cooling rack to thaw completely. If packaging, wait until the condensation has evaporated. I like to use a glove to prevent getting fingerprints on it as much as possible! Once thawed, pile into cellophane bags and tie with a ribbon, or stack in a cookie tin/box.
QUESTIONS?
If I have not answered all of your questions in the text above, don’t hesitate to reach out to me! You can contact me by sending me a message in the comments section further down the page. I will try my best to answer as soon as possible! You might reach me even faster by following me on Facebook and sending me a private message. Scroll down to follow me and never miss another recipe!
Finally, as I stated previously, every day I will be posting a new recipe. If you miss one, don’t fret. You can find my entire collection of Christmas Recipes right here! There are over 200 Christmas recipes and counting. There’s something for everyone! Cheers!

Do You Like This Recipe?
You should consider trying these other delicious recipes too!

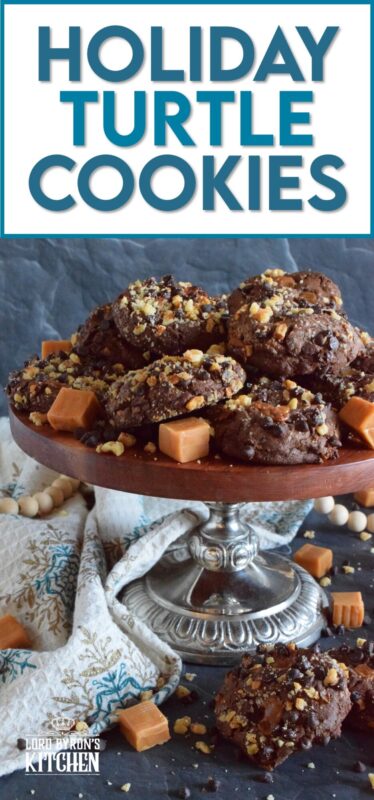
Holiday Turtle Cookies
Ingredients
- 1/2 cup butter, softened
- 1/2 cup brown sugar, lightly packed
- 1/2 cup sugar
- 1 large egg
- 1 teaspoon vanilla extract
- 1 1/4 cups all-purpose flour
- 1/4 cup unsweetened cocoa powder
- 1/2 teaspoon salt (if using salted butter, do not add the additional salt here)
- 1/2 teaspoon baking soda
- 1/2 cup mini semi-sweet chocolate chips
- 1/2 cup chopped, toasted pecans
- 1/2 cup chopped caramels
Instructions
- Start by cutting the caramel into smaller pieces. If using square caramels, cut them into 8 pieces; if using caramel balls, cut those into quarters.
- Once the caramels are chopped, combine them with the chocolate chips and the chopped pecans. Toss to mix and set aside.
- Next, preheat your oven to 350 degrees F and line a baking sheet with a parchment paper. Set that aside.
- In a mixing bowl, beat the butter, brown sugar and sugar together until light and fluffy. Add the egg and vanilla extract. Beat to combine.
- Measure in the flour, cocoa powder, salt, and baking soda. Beat on low speed for 30-45 seconds, just to get the dry ingredients started into the wet mixture.
- Set aside ½ cup of the chocolate, caramel, and pecan mixture. Add the rest to the bowl of cookie dough. Continue to beat on low speed until the flour is all incorporated.
- Portion the cookie dough into 2 tablespoon-sized amounts. Roll the portions into balls and roll the balls into the chocolate, caramel, and pecan mixture you had previously set aside.
- Place the balls onto the prepared baking sheet, leaving 3 inches of space between each ball. Bake for 10-12 minutes.
- Remove from the oven and allow the cookies to cool for10 minutes before moving to a cooling rack to finish cooling.
Nutrition
Did you make this recipe?
Upload a photo and tag me so that I can see it!


Leave a Reply