
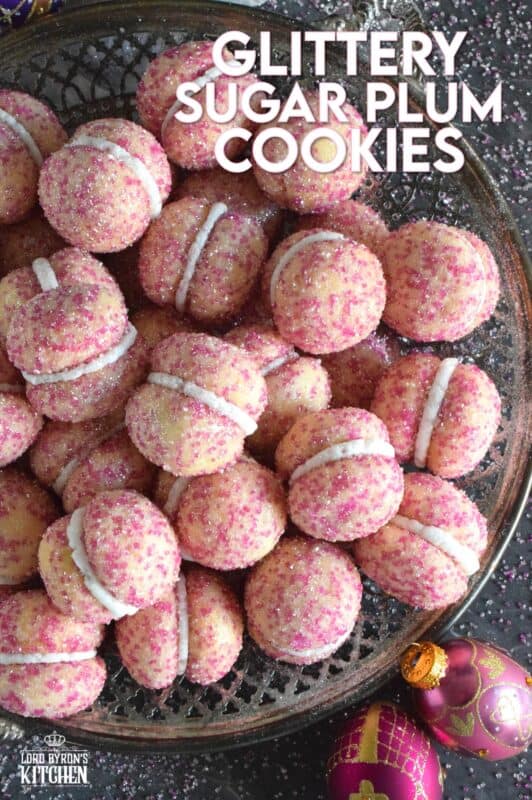
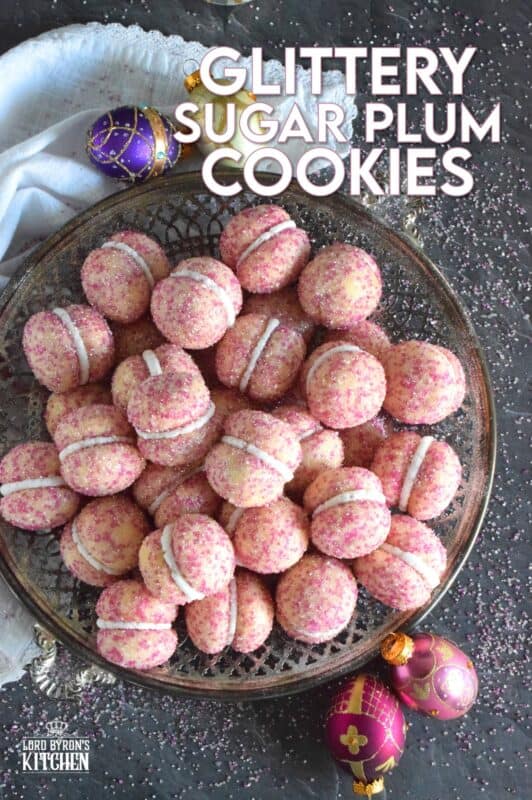
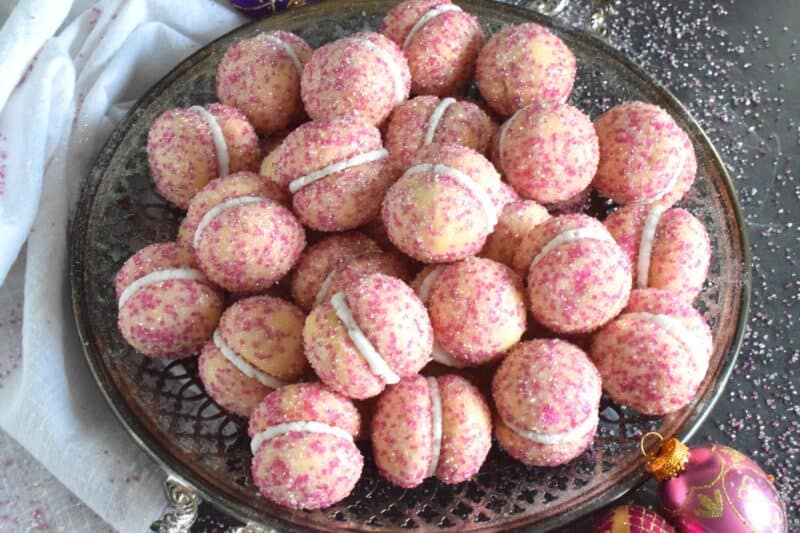
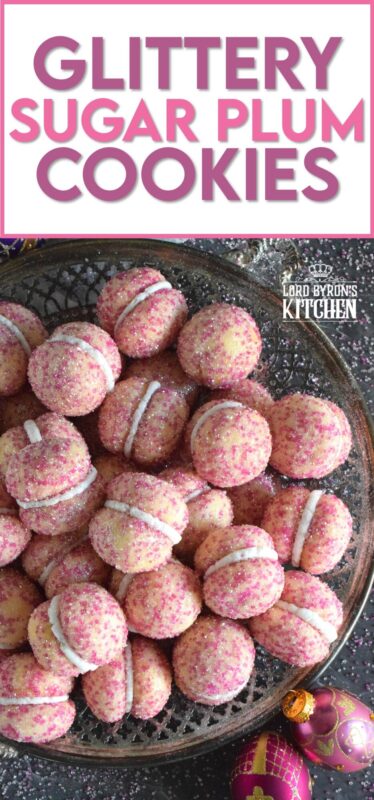
These beautiful, shimmering, Glittery Sugar Plum Cookies are the epitome of priceless luxury on a dollar store budget. The cookies are baked with a sparkling, sugary coating and sandwiched together with an easy, sweet frosting. One bite and you’ll certainly have visions of these sugar plums dancing in your head on Christmas Eve night!
I’ve been seeing a recipe for a cookie called sugar plums for some time. But, they didn’t look anything like the sugar plums I imagined as a kid when reading ‘Twas the Night Before Christmas. In fact, these Glittery Sugar Plum Cookies don’t look exactly like what I had imagined sugar plums looked either, but they are so much closer than that cookie I saw a long time ago.
When you were a kid, what did you think sugar plums were? I’m sure you all know the popular Christmas poem. One of the lines in the story says that “The children were nestled all snug in their beds, while visions of sugar plums danced in their heads.” Honestly, Dear Reader, I always pictured actual purple-skinned plums that had been rolled into white sugar! I was almost right!
Make your own online recipe box!
Click the in the lower right corner of your screen
& follow the quick and easy instructions!
The poem, ‘Twas the Night Before Christmas, was first published in 1823, which is just a few years before the Victorian Era. In Victorian times, a sugar plum was a preserved pitted plum that had been rolled in sugar and baked at a low temperature. It was baked for days long until the plum was completely dried out and the sugar had formed a crispy crust. These would have been used as a tree ornament or as a delicious, festive treat.
The task of preparing sugar plums was long and commodities like sugar could only be wasted on such frivolous things by the rich. The price of the confection often reflected this, which meant sugar plums were a luxury item. Maybe this is why they were what little kids were dreaming of when they tried to go to sleep on Christmas Eve! The term eventually became synonymous with describing luxuries too rich for even the middle class. Today, however, we don’t hear the term used often – for luxury or for confection!
LORD BYRON’S 24 COOKIES OF CHRISTMAS – VOLUME 5
I’m so excited about this year’s cookie countdown! This is the fifth consecutive year; can you believe that? Each of the previous years has included 24 cookies and this year will not be any different. I’ll share a new Christmas cookie recipe each and every single day for the next 24 days – even on Saturday and Sunday!
You might be asking yourself, how many Christmas cookie recipes could one possibly have or need? Well, I say you can never have too much of a good thing. And, I love having lots of choices. Who wants to bake the same holiday cookies year after year?
So, welcome, Dear Reader, to Volume 5 of Lord Byron’s 24 Cookies of Christmas! Fresh off of my 12 Edible Wreaths of Christmas and my 12 Bars and Squares of Christmas series, I’m ready to plow through the next 24 days with you!
You really don’t want to miss one of these recipes, so if you have not yet subscribed to Lord Byron’s Kitchen, I encourage you to do so. That way, a new recipe will be emailed to you every day. You won’t have to bother to come looking for it! Like in previous holiday baking countdowns, I like to mix up the recipes in the series so that there is something for everyone. Are you ready!!??
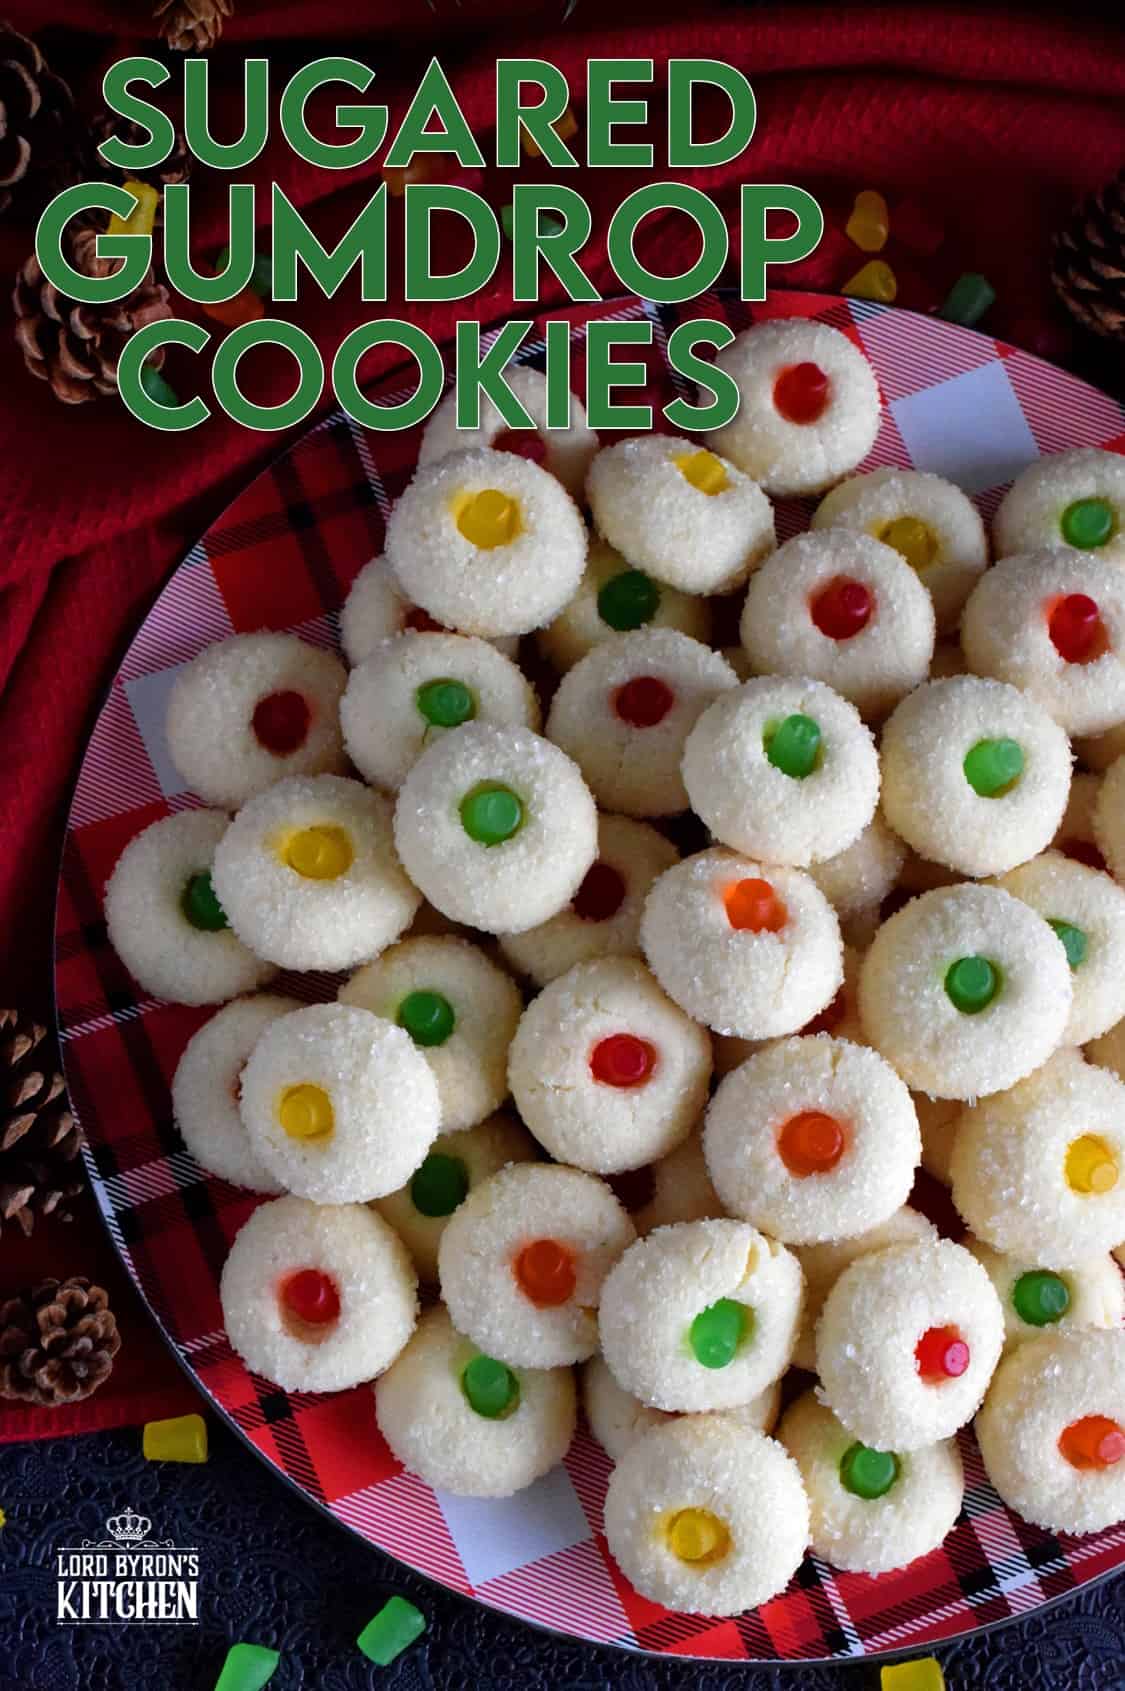
Looking For More Christmas Confections?
Lord Byron’s Kitchen has more than enough to satisfy your sweet tooth! Click on the links below to see a countdown series of holiday recipes from that category!
INGREDIENTS NEEDED TO PREPARE THIS RECIPE
The following is a list of the ingredients needed to prepare this recipe. For exact amounts and measurements, refer to the printable recipe card located near the bottom of this post.
Ingredients for the Cookies:
- Butter – Make sure your butter is at room temperature! To be perfectly honest, I have made these with both salted and unsalted butter and there’s no difference in taste or appearance once all is said and done. Use what you have on hand.
- Canned Sweetened Condensed Milk – This recipe has not been tested with low-fat condensed milk. Depending on where you live, the size of the can may differ. Be sure to have at least 1/2 cup!
- Flour – No need for anything special. Just use regular all-purpose flour. I have not tried this recipe with any other type of flour.
- Baking Powder – This is used to increase the volume of the batter and to add texture as well.
- Sanding Sugar
- Edible Glitter – Optional.
Ingredients for the Frosting:
- Confectioner’s Sugar – This superfine sugar is sometimes called powdered sugar. It is used in frostings quite often.
- Butter – Make sure your butter is at room temperature! You should use unsalted butter for buttercream frosting. (You can substitute the butter with vegetable shortening for a whiter buttercream, which is exactly what I did in this recipe.)
- Vanilla Extract – Probably the most common extract and the most common flavouring used in cakes and cookies.
- Milk – When a baking recipe requires milk, I always use whole milk, unless otherwise stated.
SANDING VS GRANULATED SUGAR
I use coarse sanding sugar quite often in my recipes, and I hope it hasn’t been too difficult for you to find. Sanding sugar is sometimes referred to as baking sugar, and there are some substitutes. You can use other sugars – which are basically the same, but named something differently – there’s pearl sugar and coarse sugar. You cannot, however, use granulated sugar. Let me explain why.
Whereas an individual granule of sanding sugar is large and hard, a single granule of granulated sugar is quite small. Sanding sugar will hold up to the heat in your oven without melting; granulated sugar will not. If you cannot find sanding sugar, then I’m afraid this recipe is not for you.
You can find sanding sugar online, but it’s expensive in comparison to what you can find at a baking supply store. I buy most of my sanding sugar at Bulk Barn. They have just about every colour you will need!
SWEETENED CONDENSED MILK
I have a lot of recipes here at Lord Byron’s Kitchen with sweetened condensed milk as one of the ingredients. (Click here to see them!) Growing up in Newfoundland, it was always something I’ve been aware of. But, that’s not the case for everyone. I get many questions from readers about it. For someone not familiar with the gooey, sticky canned milk, it might be easily confused with canned Carnation condensed milk, for instance. Let me explain what it is here.
So, first of all, it’s condensed. The milk is condensed by removing water. This can be accomplished by applying heat. The water will evaporate causing the milk to condense, which thickens the milk. Sugar is added to sweeten the condensed milk. The main purpose of adding sugar is to prolong the shelf life of condensed milk, which can sit on room-temperature shelves for years. Sugar prevents microorganisms from growing in the milk and helps to thicken it even further—it’s added after the milk has been boiled, reduced, and pasteurized.
If you find unsweetened condensed milk, it’s most likely that it’s simply evaporated milk or condensed milk, which is thick, but not gooey and sticky. Evaporated milk is often used as a cream added to tea or coffee. If you are unfamiliar with it, please read the can carefully. Also, shake it – can you feel the liquid splashing about inside the can? If so, it’s not sweetened condensed milk; it’s evaporated or condensed milk only!
Do you have a question or comment?
Would you like to leave a review?
Scroll down to the comment section and write me a message.
I will personally respond as soon as possible!
LET’S TALK ABOUT EDIBLE GLITTER
I’ll start by stating that the edible glitter used in this recipe is completely optional. It does not add anything in terms of flavour to the cookie. It is only used to increase the shimmer and shine, so don’t feel pressured to find edible glitter if you don’t already have some. The sanding sugar is a must though! You only need a small amount and it’s relatively inexpensive at a bulk supply store. In my experience, buying sanding sugar online is much more costly.
Not all glitter is safe to eat, so please do not use glitter found in a craft store – even for display purposes! The glitter used in this recipe is a food-grade glitter prepared with sugar, cornstarch, and pearlescent colour additives, and is totally safe to eat. Sometimes, edible glitter is called edible dust. But, it must say “edible” on the label if you plan to bake or garnish with it.
You can find edible glitter in the baking section of Michaels. Wilton carries various colours and you can find their products in almost any baking supply store. If you really need to have it and don’t mind the extra expense, you can find it on Amazon as well.
For reputable online sources, I would consider Fancy Sprinkles in the United States. If you’re here in Canada, my go-to source for edible glitter and sprinkles is Sweetapolita.
HOW TO MAKE GLITTERY SUGAR PLUM COOKIES
In a large mixing bowl, beat the butter until light and fluffy. Add the sweetened condensed milk and beat into the butter until well combined. Add the flour and baking powder. Mix into the butter mixture until well incorporated. Cover the bowl with plastic wrap and refrigerate for 30 minutes.
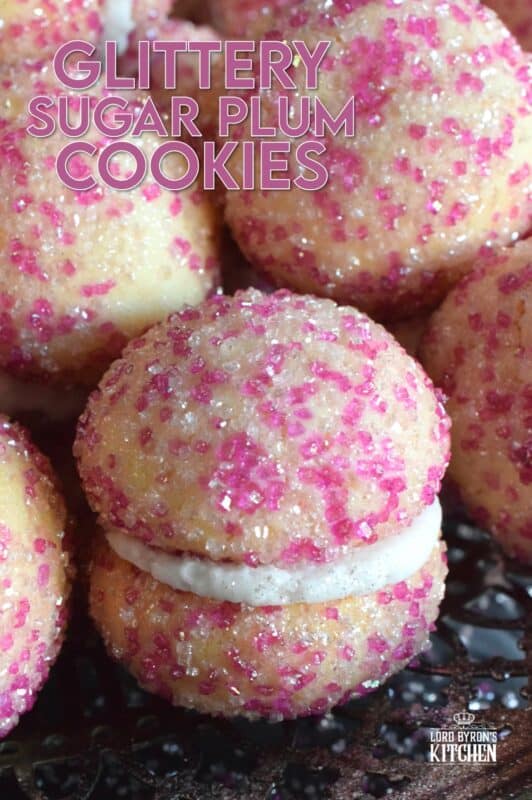
In the meantime, preheat the oven to 325 degrees. Prepare a baking sheet by lining it with parchment paper. Set aside. Lastly, pour the sprinkles into a shallow bowl for rolling the cookie dough into. (I’m using ¼ cup of white sanding sugar, ¼ cup of pink sanding sugar, and 1/2 teaspoon each of gold and silver edible metallic glitter.)
Remove the cookie dough from the fridge and using a small cookie scoop, portion out 1 tablespoon of the cookie dough. Roll each portion into a smooth ball and then roll it into the sprinkles. Place the cookie balls on the baking sheet, leaving 2 inches of space between each one. Bake for 12 minutes. Remove them from the oven and allow them to cool for 2-3 minutes before transferring them to a wire cooling rack to finish cooling.
Lord Byron’s Annual Christmas Cookie Series
Did you know that Lord Byron’s Kitchen has been sharing a 24 Cookies of Christmas Series for the past several years? Click on the links below to see all of the recipes from each series on one page!
HOW TO MAKE THE FROSTING
Beat the butter (or vegetable shortening) in a large mixing bowl. Add the confectioner’s sugar one cup at a time, beating well after each addition. Next, beat in the vanilla extract and milk. Note that my frosting is really bright white. If you use butter, your frosting will have a yellow tint to it. Actually, different brands of butter can be more yellow in colour than others. Your frosting might have more than a yellow tint; it might actually turn out yellow!
There is a secret used by bakers to get perfectly white buttercream frosting. Instead of using butter, they substitute the butter with vegetable shortening. Another secret is to use white vanilla extract rather than the regular amber or brown-coloured stuff. It can also tint the frosting. To get the whitest frosting possible, I used vegetable shortening rather than butter in this particular case.
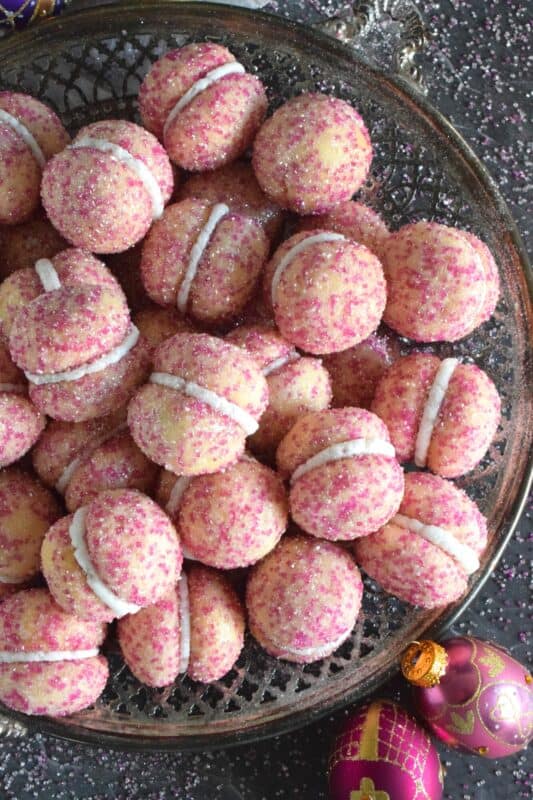
ASSEMBLING YOUR COOKIES
Now that you have the frosting prepared, it’s time to assemble the cookies. I find the best and easiest way to do this is to transfer the frosting to a piping bag. You could try a resealable Ziploc bag, but on occasion, the bag has burst open when I tried to pipe the frosting because the bags are just too thin for a thick frosting like buttercream. It’s best to stick to a piping bag.
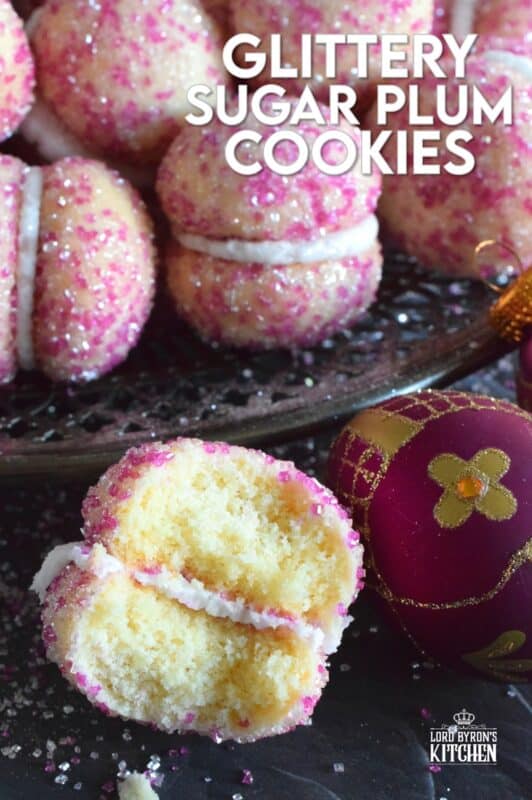
Pipe a dollop of frosting onto the bottom of one cookie. You can really use a little or as much as you want. I found that about two teaspoons of frosting were perfect. Place another cookie – bottom side down – onto the frosting cookie and press gently to seal. It’s worth pointing out that if you don’t have a piping bag, you can spread the frosting on in an even layer with a butter knife or an offset spatula.
STORING, PACKAGING, & FREEZING
When it comes to most cookies, they taste best at room temperature, but they don’t hold up well to being left out on your countertop for long periods of time. Cookies will stay fresh in a cookie jar or food-safe container with a lid for 3-5 days if left to sit on your kitchen countertop. You can store them in a food-safe container in your fridge. When you want one, two, or half a dozen, take them out of the container and place them in a single layer on a plate. Let them sit at room temperature for 5 minutes and they’re ready!
If you plan to freeze your Glittery Sugar Plum Cookies, you certainly can! Once completely cooled, pile them into a clean, food-safe container. The container must be freezer friendly! You’ll want to ensure a very tight-fitting lid too. I use these quite often when freezing baked goods. I like to place a sheet of plastic wrap over the top of the container before pushing the lid on. This helps to create a better seal. The goal is to keep all of that freshness locked in!
You can freeze these cookies for up to three months. If you plan to give previously frozen cookies as a gift, I would lay them out on a wire cooling rack to thaw completely. If packaging, wait until the condensation has evaporated. Once thawed, pile into cellophane bags and tie with a ribbon, or stack in a cookie tin/box.
QUESTIONS?
If I have not answered all of your questions in the text above, don’t hesitate to reach out to me! You can contact me by sending me a message in the comments section further down the page. I will try my best to answer as soon as possible! You might reach me even faster by following me on Facebook and sending me a private message. Scroll down to follow me and never miss another recipe!
Finally, as I stated previously, every day I will be posting a new recipe. If you miss one, don’t fret. You can find my entire collection of Christmas Recipes right here! There are over 200 Christmas recipes and counting. There’s something for everyone! Cheers!
Do You Like This Recipe?
You should consider trying these other delicious recipes too!


Glittery Sugar Plum Cookies
Ingredients
For the Cookies:
- 1 1/2 cups unsalted butter, softened
- 14 ouces sweetened condensed milk
- 3 cups all-purpose flour
- 4 1/2 teaspoons baking powder
- 1/2 cup sanding sugar, (I'm using 1/4 cup white and 1/4 cup pink sanding sugar.)
- 1 teaspoon edible glitter, (I'm using 1/2 teaspoon silver and 1/2 teaspoon gold.)
For the Frosting:
- 3/4 cup vegetable shortening or unsalted butter
- 2 cups confectioner's sugar
- 2 teaspoons vanilla extract
- 2 tablespoons milk
Instructions
- In a large mixing bowl, beat the butter until light and fluffy.
- Add the sweetened condensed milk and beat into the butter until well combined.
- Add the flour and baking powder. Mix into the butter mixture until well incorporated.
- Cover the bowl with plastic wrap and refrigerate for 30 minutes.
- In the meantime, preheat oven to 325 degrees F. Prepare a baking sheet by lining it with parchment paper. Set aside.
- Lastly, pour the sprinkles into a shallow bowl for rolling the cookie dough into. (I’m using ¼ cup of white sanding sugar, ¼ cup of pink sanding sugar, and 1/2 teaspoon each of gold and silver edible metallic glitter.)
- Remove the cookie dough from the fridge and using a small cookie scoop, portion out 1 tablespoon of the cookie dough.
- Roll each portion into a smooth ball and then roll it into the sprinkles.
- Place the cookie balls on the baking sheet, leaving 2 inches of space between each one.
- Bake for 12 minutes.
- Remove them from the oven and allow the, to cool for 2-3 minutes before transferring to a wire cooling rack to finish cooling.
- Once fully cooled, prepare the frosting by beating the butter (or vegetable shortening) in a large mixing bowl.
- Add the confectioner’s sugar one cup at a time, beating well after each addition.
- Next, beat in the vanilla extract and milk.
- Now that you have the frosting prepared, it’s time to assemble the cookies. I find the best and easiest way to do this is to transfer the frosting to a piping bag. You could try a resealable Ziploc bag, but on occasion, the bag has burst open when I tried to pipe the frosting because the bags are just too thin for a thick frosting like buttercream. It’s best to stick to a piping bag.
- Pipe a dollop of frosting onto the bottom of one cookie. You can really use a little or as much as you want. I found that about two teaspoons of frosting were perfect. (If you don’t have a piping bag, you can spread the frosting on in an even layer with a butter knife or an offset spatula.)
- Place another cookie – bottom side down – onto the frosting cookie and press gently to seal.
Nutrition
Did you make this recipe?
Upload a photo and tag me so that I can see it!


Leave a Reply