
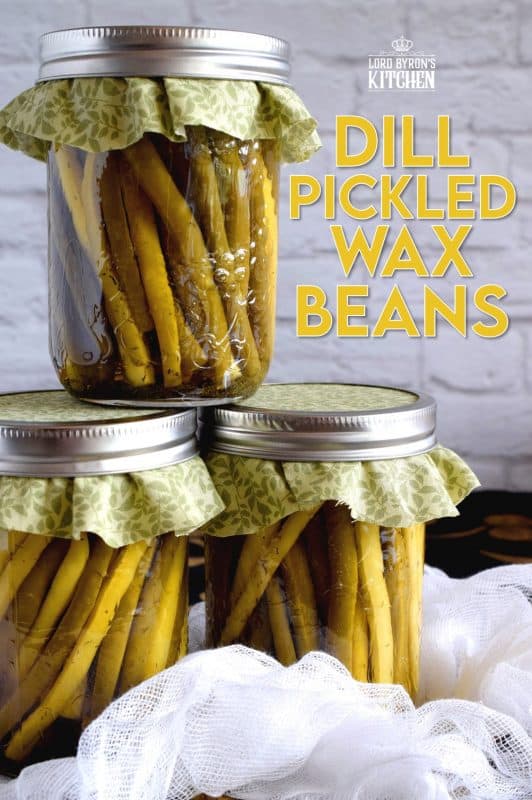
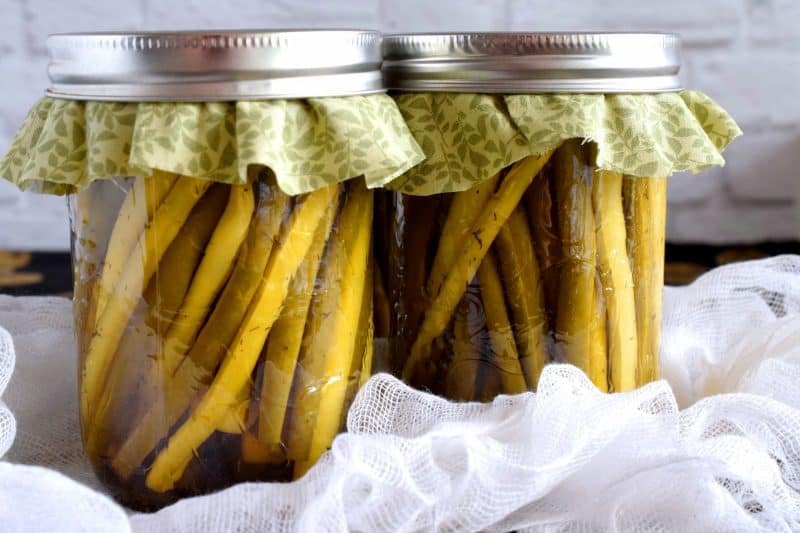
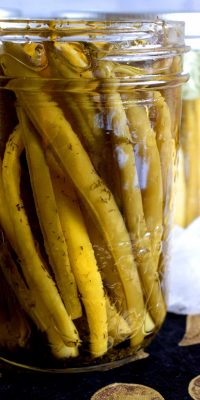
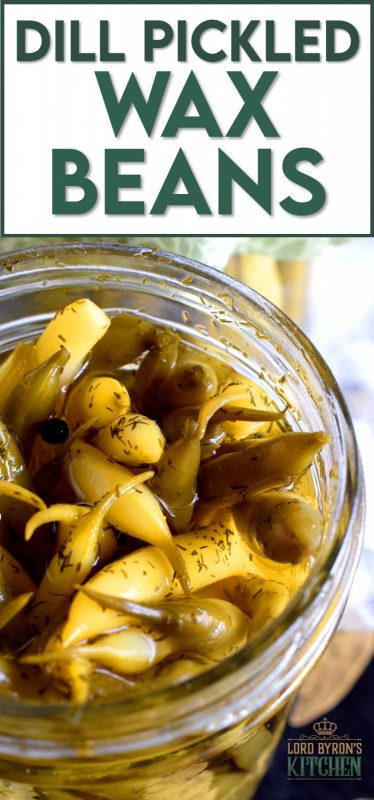
Dill Pickled Wax Beans are super dilly with a hint of salty and peppery flavour. Stock your pantry full of these for a great side dish ready to go at any time. These are perfect on a cheese board or wrapped with thinly sliced hot salami!
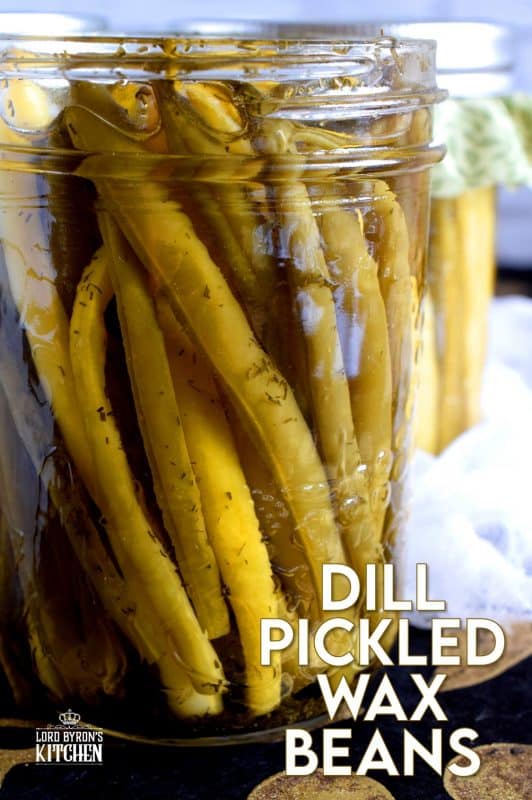
Dill Pickled Wax Beans are delightful; they are packed with dill flavour and retain their firmness even through the water bath canning method. These pair so well with cold cuts! In our home, we are accustomed to a clean out the fridge type of meal. Do you know what that is?
CLEAN OUT THE FRIDGE DINNER
Well, in essence, a clean out the fridge meal is an entire meal that requires no cooking, and consists of leftovers of this and that from your refrigerator. We will often chop up whatever veggies we have on hand – usually carrots, broccoli, cucumber, etc. Then, we’ll slice up a few dill pickles; maybe slice a boiled egg or two.
Sometimes, we have various dips that need to be finished up, but there’s always hummus in our fridge. Some cherry tomatoes, a few slices of good cheese, or even a few babybels, and dinner is pretty much done! When it comes to a clean out the fridge meal, I can’t think of a better time than to enjoy sides such as these Dill Pickled Wax Beans.
A WELL-STOCKED PANTRY
That’s one of the great things about canning and having a well-stocked preserve pantry. We don’t have much room in our city apartment, but I have made room to store a few jars of our favourite preserves. Along with these Dill Pickled Wax Beans, you’ll find my copycat version of Trader Joe’s Cowboy Caviar, and my Sweet Corn Relish, Preserved Mustard Pickles, and, of course, my personal favourite: Dad’s Canned Pickled Beets.
If you have the time to do a little bit of canning, the rewards are endless. Not only can you place a clean out the fridge meal on the table in minutes, but you’ll have less stress with putting out a little spread when unexpected company shows up. I’m telling you, Dear Reader, I love these canned items with some store-bought deli meat, a rotisserie chicken, or just a big platter of crackers, cheese, and a sliced baguette. Give me a hot coffee and move aside!
ENJOY RIGHT FROM THE JAR OR HEAT THEM UP
When it comes to canned veggies, like this Dill Pickled Wax Beans, you’re not necessarily stuck with serving them cold. A preserved bean is good heated up too. Since they are already cooked, you want to refrain from re-cooking them, because they will turn to mush. But, if you gently reheat them, they’ll hold up nicely. I’m not a microwave person, in fact, we don’t own one, so I’d warm these up in the oven.
Place a few on a parchment-lined baking sheet and place them in the oven. Turn on the heat (do not pre-heat your oven!) to 350 degrees. Once your oven reaches 350, the beans are heated through. They won’t be scalding hot, but they will be perfectly warmed.
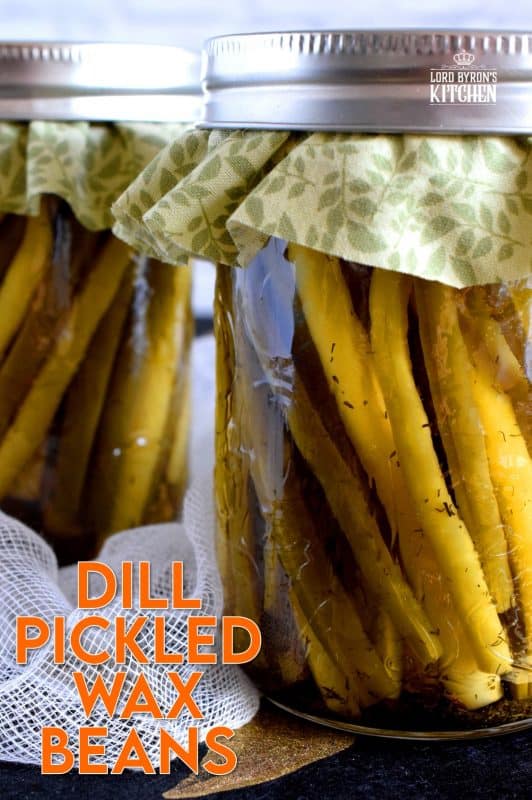
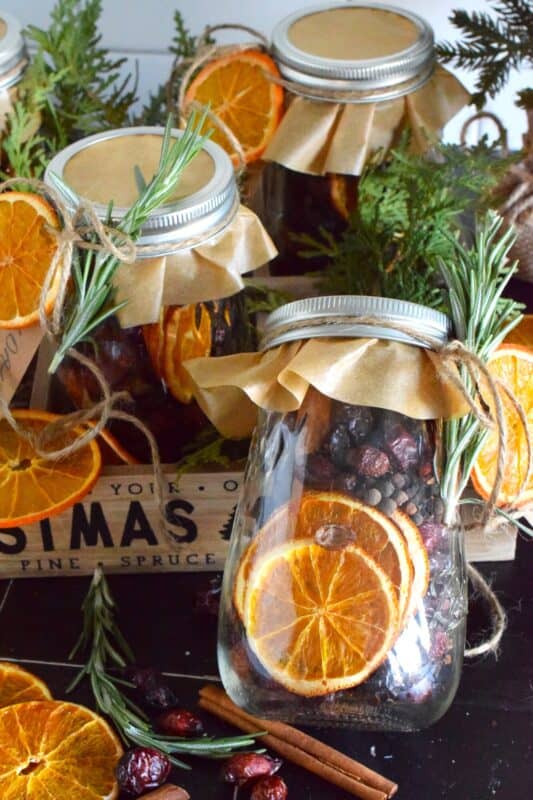
Now that the beans are warmed, they can easily be a great side dish to some roast chicken or roast beef. Whip up some mashed potatoes or mashed cauliflower and you’ve got a complete meal! Of course, you could always wrap these Dill Pickled Wax Beans up with a fabric skirt and tie some jute around the lid like I did. They make a perfect little gift for someone who loves good food just as much as you do!


Dill Pickled Wax Beans
Ingredients
- 3 pounds green beans or wax beans, ends trimmed and washed
- 2 cups water
- 1 cup vinegar
- 3 teaspoons dried dill
- 15 whole black peppercorns
- 1 teaspoon salt
Instructions
- Add 6 cups of water to a large pot. Add the salt. Bring to a boil. Add the beans and stir to submerge. Cook for exactly one minute. Drain and cool the beans. Set aside.
- Prepare 3 500 ml jars by washing them thoroughly with hot, soapy water. Be sure to rinse the jars until the soap residue is gone. Set the jars aside. Next, boil a kettle full of water. Place the seals and jar rings into a large bowl. Pour the boiled water over top and let them sit.
- Prepare your canning pot for the water bath method. I use a large stock pot with a round metal cooling rack at the bottom so that the jars do not touch the bottom of the pot. Fill the pot half full with water and bring to full boil.
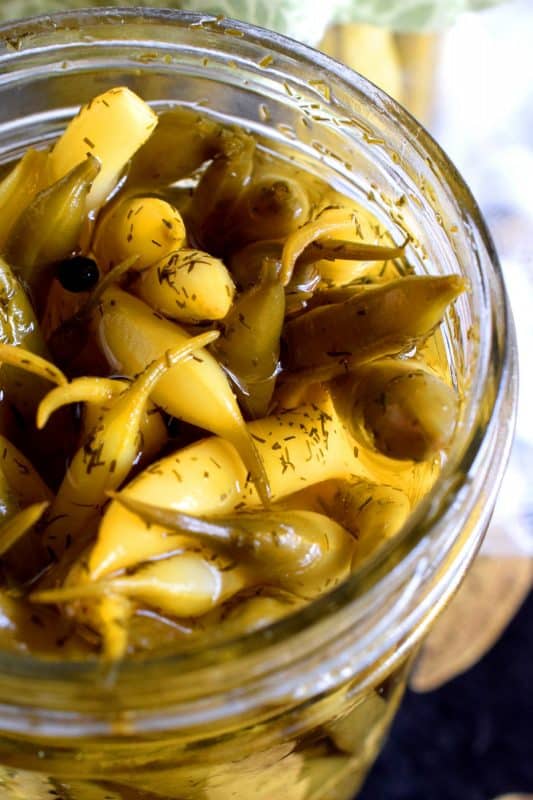
- Fill the jars with the beans. Use tongs to position the beans so that they all stick up on their end. I find the best way to fill the jars is to lay the jars on their side on a clean kitchen towel.
- Once the jars are full, add a teaspoon of dill to each jar, along with 5 peppercorns each.
- Stir together the vinegar and the water. Poor into the jars, leaving 1/2 inch of head space. Screw on the lid until just snug.
- Using a jar lifter, place the filled jars into the large pot of boiling water. Bring the pot back to a boil and allow the jarred beans to remain in the boiling water for 20 minutes. Carefully remove the jars and place on a kitchen towel where they will not be disturbed. As the jars cool, you’ll hear a popping sound. This is the hot liquid and air in the jar cooling down and contracting. This will create an air-tight seal and will allow you to store your beans for future consumption.
- For best results, I recommend allowing the jars to sit undisturbed for at least 12 hours. With a damp cloth, wipe down the jars, re-tighten the lids, and store in a dark, cool place. The relish will last for 12-18 months. Lastly, if you notice that a jar has not properly sealed, simply refrigerate that particular jar, and consume within the next 5-7 days. To test whether or not the jars are sealed, lightly press down on the seal. If the seal pops downward, the sealing process did not work.
Notes
Nutrition


Anne says
Am making these now but 3lbs of beans is not going to fit into 3 500ml bottles. Is this correct?
Helen says
Oh boy these are sooooo good! Beans are coming in fast and furious out of the garden. Will be doing up another batch. I want to make sure I don’t run out. I work full time so most of my canning is done on the weekends. Kitchen gets destroyed and cleaned up several times. The end results are so rewarding. I look forward to your posts everyday. Thank you for all the great ideas and recipes.