
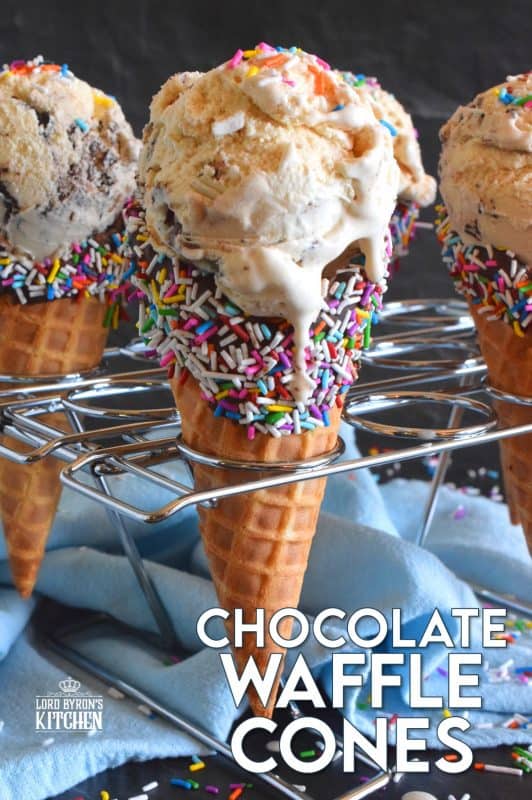
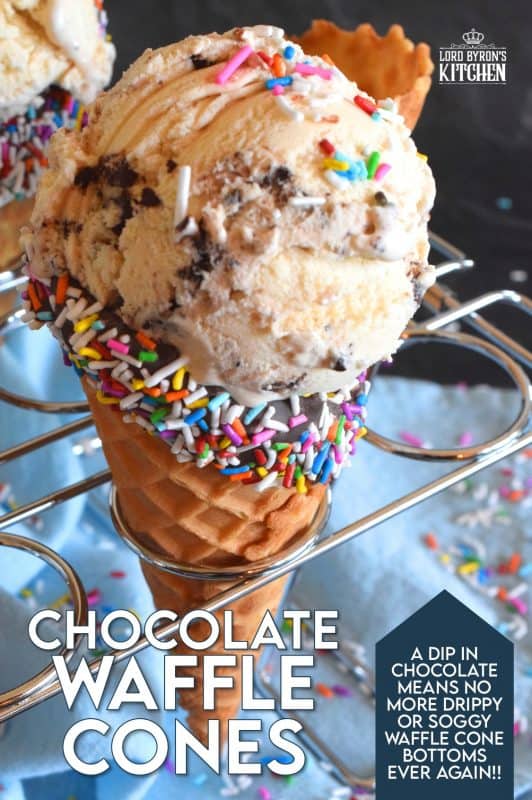
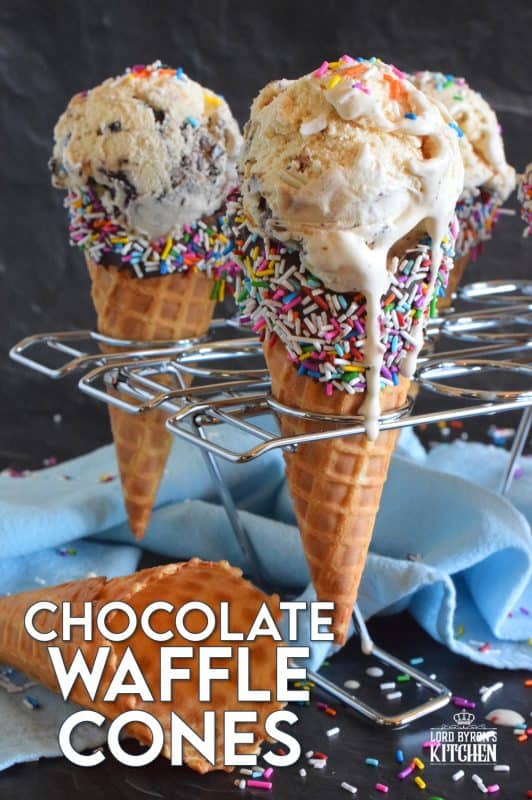
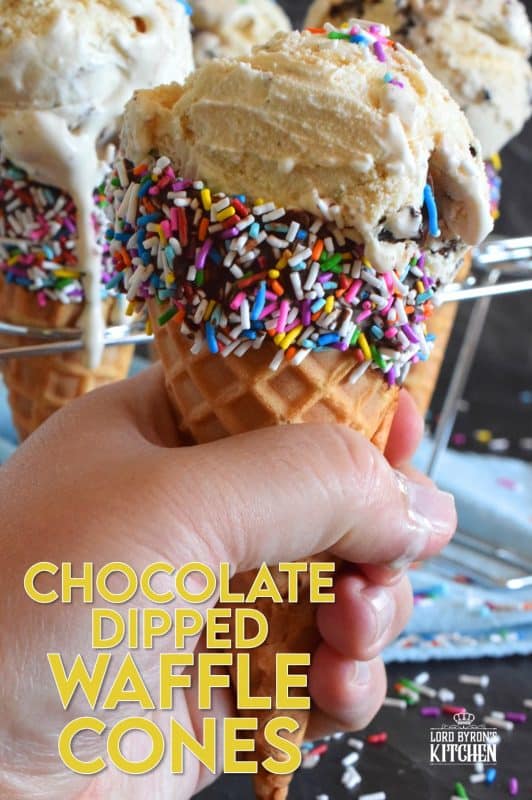
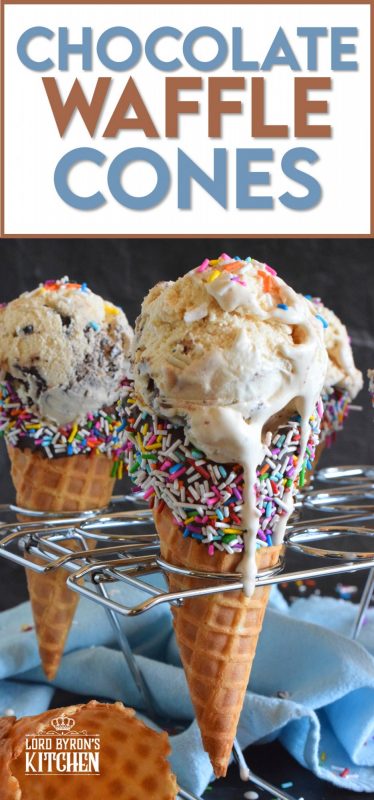
When it comes to serving up a scoop of ice cream at home, nothing beats doing so in one of these Chocolate Waffle Cones. Using store-bought cones, the inside is coated with chocolate which prevents ice cream from dripping out the bottom. Anyone with kids will love this!
Whenever I post a recipe like these Chocolate Waffle Cones, I’m always concerned with whether or not I should post it at all. I have this idea in my head that a food blogger should only share recipes that require a certain number of ingredients and a list of instructions that the reader must follow to get the recipe just right.
And, each and every time, I have to convince myself that not every recipe needs to be complicated; not every recipe needs to be an actual recipe. Sometimes, Dear Reader, a recipe isn’t a recipe at all. Instead, it’s more like a do-it-yourself project or a craft. In the case of these cones, it’s an assembly type recipe. But, nevertheless, it’s a recipe, so I’m sharing it – much like I did with my Stroopwafel Ice Cream Sandwiches!
Besides, if you know how to make these cones, you have so many options at your fingertips. So rather than discuss whether or not this is a recipe, let’s focus on how easy these are to make and what you can do with them once you’ve mastered the art of coating a waffle cone with melted milk chocolate!

LET’S TALK WAFFLE CONES
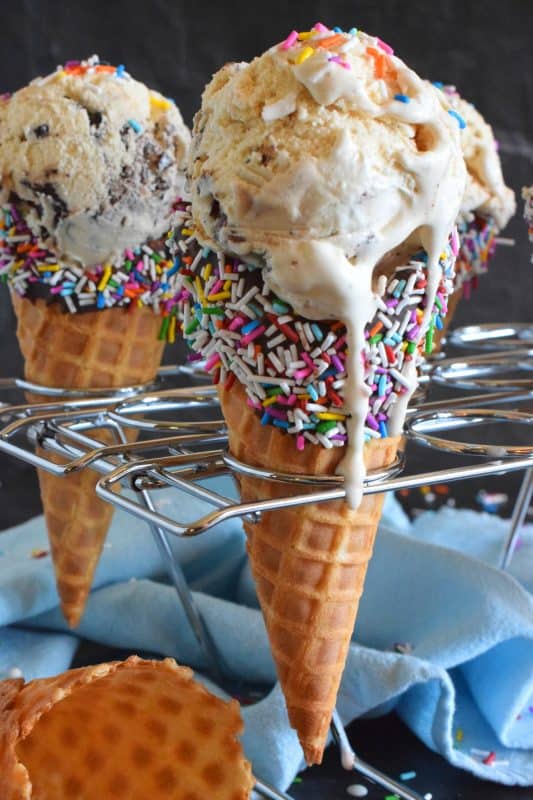
Waffle cones are golden brown in colour, and tend to be a little bit brittle. We all love that snap-crunch that we get when we bite into a waffle cone once we have eaten the ice cream down far enough. Oh, and let’s not forget, a waffle cone is also sugary. They are baked flat and rolled up, which leaves the opening teardrop-shaped and rough-looking.
You can make your own waffle cones at home, but you will need some special equipment. If you don’t already own one, you will need to buy a waffle cone maker. Don’t confuse it with a waffle iron; they’re quite different! Waffle irons have deep grids intended for big, fluffy waffles, where waffle cone makers have a very shallow grid. The batter is also completely different, of course!
I’ll tell you how I made them without having to buy another appliance. I added them to my online grocery cart and send John.e to the store to pick them up. It was such an easy way to make them and I had zero clean up to do! Ha! The cones I’m using are the President’s Choice brand. You can find them here. You can also by waffle cones on Amazon.
SPRINKLES, SPRINKLES, AND MORE SPRINKLES!
Okay, let’s talk sprinkles. I’ve said it before, and I’ll say it again – I’m addicted to sprinkles. Don’t believe me? Search the term “sprinkles” in the search field at the top right of this page. Or, take a look at my credit card bill that time I ordered sprinkles to the tune of $200!
Who’s my go-to sprinkle source? I buy most of my sprinkles from Sweetapolita. They’re the best and you should check them out. They’re located in Canada, and I’m not sure if they deliver to the United States. But, state-side, Fancy Sprinkles stocks very similar mixes and themes. Listen, I know that shopping for sprinkles online might seem a little over the top, but I’ve never once pretended to shy away from pretty things.
And, of course, if you’re not about to shop online for sprinkles, you can find them at any Walmart, any baking supply store, any Target, and there’s always discount sprinkles at Marshall’s, HomeSense, and Winners. (PS: This is not a sponsored post for Sweetapolita. I just really like their sprinkles!) For this recipe, I used rainbow jimmies. You can use your favourite sprinkles.
THE TYPE OF CHOCOLATE CAN MAKE ALL THE DIFFERENCE
You can use whichever chocolate chip you tend to favour. I prefer milk chocolate or semi sweet. But, I have been known to use dark chocolate a time or two. For this particular recipe, I like to use semi sweet chocolate. Semi sweet chocolate chips are less sweet so you won’t be left with something that’s overly sweet when all is said and done.
If you’re planning to add ice cream to your finished Chocolate Waffle Cones, then semi sweet chocolate is the best option since ice cream is already really sweet. And, in case you’re interested, you can use dark chocolate too. If you’re not worried about the sweetness, you might also consider using candy melts instead of chocolate. That would be a great way to add a pop of colour, especially if you’re preparing these cones for a theme party!
HOW TO COAT THE INSIDE OF THE WAFFLE CONES
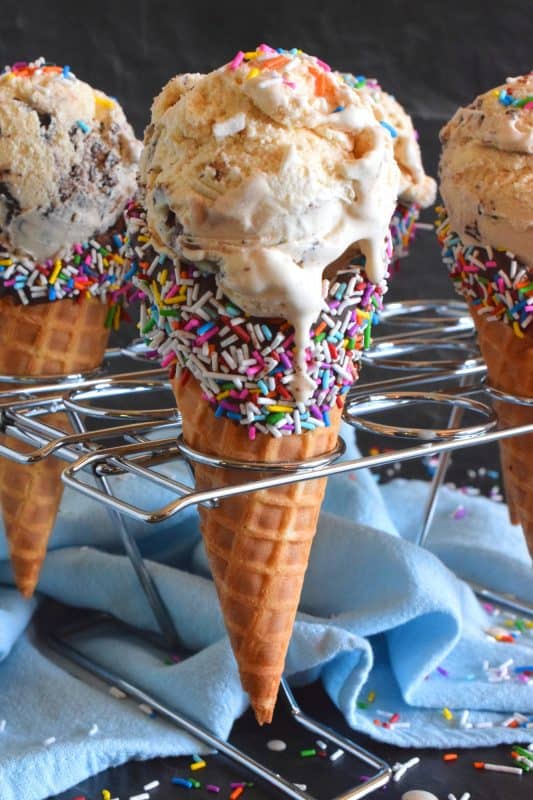
To coat the inside of the cone, you’re going to need melted chocolate. But, before you start to melt the chocolate, set everything up first. Unwrap the waffle cones and prepare something to stand them up in so that the chocolate can harden. I used my Wilton Cupcake Cone Baking Rack. But, you can also stand up each cone in a tall, narrow drinking glass. You just want to keep them standing up straight, so nothing fancy is needed.
The chocolate that coats the inside of the cone is applied first. That chocolate is allowed to dry and harden before moving on to the outside chocolate. If you’re brave or extremely short on time, you can attempt both. I tried it and end up with a big mess!

Holding one waffle cone at a time in your hand, ladle in a couple tablespoons of the melted chocolate. Turn the cone slowly, allowing the chocolate to cover the entire interior surface of the cone. If there’s too much excess chocolate, you can turn the cone upside down and allow the excess to drip back into the bowl of melted chocolate.
Alternatively, you can let the excess chocolate settle into the bottom of the cone. When the ice cream is all gone, and you’ve eaten you way down to the bottom of the cone, that extra bit of chocolate is a treat! Plus, the chocolate at the bottom of the cone will prevent any melted ice cream from dripping out the bottom and onto your shirt! When done, stand the cone up and move onto the next. When all cones are coated, transfer to your fridge for 30-45 minutes to harden.
APPLYING THE SPRINKLES
Once the first application of chocolate is set, it’s time to fetch the waffle cones from the fridge and get started on the second stage of this recipe. So, with the cones ready, and a bowl of sprinkles nearby, melt more chocolate and get ready to start dipping.
Again, working with one cone at a time, hold it upside down and dip it straight down into a bowl of melted chocolate. Very gently shake the cone in an up and down fashion. This will force the excess chocolate to drip off and back into the bowl of melted chocolate.
Next, hold the cone over the bowl of sprinkles. Use a spoon to spoon the sprinkles over the still wet, melted chocolate. Allow the sprinkles to stick to the chocolate while keeping the cone held over the bowl so that the sprinkles that don’t stick and fall back into the bowl. Turn the cone, spooning more sprinkles over it, until the dipped portion of it is covered in sprinkles. Return the cone to its previous resting place so that the chocolate can harden once again.
FILLING YOUR CHOCOLATE WAFFLE CONES
Now that you have your cones all ready, what are you doing to do with them? As you can see from the photos, I opted to fill mine with ice cream. But, you have other options. You can fill these cones with fresh fruit and scoop some whipped cream right on top.
Or, you can fill them candy and wrap them in cellophane. That would make a great party favour, wouldn’t it? Oh, and what about filling them with popcorn? You can make them in advance and then serve them at a family movie night. And, you can change up the sprinkles too and match them to a party theme. There are so many possibilities, so have fun with it!


Chocolate Waffle Cones
Ingredients
- 6 large waffle cones
- 2 cups semi sweet chocolate chips
- 1/2 cup sprinkles
Instructions
- Start by setting up a work station. If using drinking glasses to keep the cones standing up, place 6 drinking glasses onto a platter or baking tray. This will make it easy to transport to the fridge.
- Add one cup of the chocolate to a microwave-safe bowl. On 50% power, and in 30 second increments, melt the chocolate until smooth.
- Holding one waffle cone at a time in your hand, ladle in a couple tablespoons of the melted chocolate. Turn the cone slowly, allowing the chocolate to cover the entire interior surface of the cone. If there’s too much excess chocolate, you can turn the cone upside down and allow the excess to drip back into the bowl of melted chocolate. Alternatively, you can let the excess chocolate settle into the bottom of the cone.
- When done, stand the cone up and move onto the next. When all cones are coated, transfer to your fridge for 30-45 minutes to harden.
- Once the first application of chocolate is set, it’s time to get started on the second stage of this recipe. So, with the cones ready, and a bowl of sprinkles nearby, melt the remaining chocolate using the same technique.
- Again, working with one cone at a time, hold it upside down and dip it straight down into a bowl of melted chocolate. Very gently shake the cone in an up and down fashion. This will force the excess chocolate to drip off and back into the bowl of melted chocolate.
- Next, hold the cone over the bowl of sprinkles. Use a spoon to spoon the sprinkles over the still wet, melted chocolate. Allow the sprinkles to stick to the chocolate while keeping the cone held over the bowl so that the sprinkles that don’t stick and fall back into the bowl. Turn the cone, spooning more sprinkles over it, until the dipped portion of it is covered in sprinkles. Return the cone to its previous resting place so that the chocolate can harden once again.
- Once the chocolate has set, the cones are ready to fill with ice cream!
Notes
Nutrition


Leave a Reply